The site photograph decides more about a facade render than any setting you pick afterwards. Stand too close, shoot at the wrong hour, or leave a van across the frontage, and the model invents a building instead of re-cladding yours. What follows is a facade rendering workflow for architects working from a single site photograph: the order of operations from one frame to a set of material options a client can actually choose between.
Why a facade is harder to render than a room
Indoors, a model gets a box: walls, floor and ceiling meeting at strong perpendicular edges, the geometry mostly given, the furniture the variable. Outside, the geometry is the subject. Roof pitch, eaves overhang, window head heights and floor-to-floor dimension are the design, and they are what a generative model has least reason to preserve.
Everything else in frame competes for attention. Sky often fills a large part of an elevation shot and carries no structure, so the model treats it as free space. Foliage has no fixed shape, so it thickens hedges and matures trees unasked. Glass is worse: a window on a facade is a mirror holding sky, street trees and the house opposite, and a re-rendered one produces reflections that contradict the shadows two metres away.
Chaos, which makes V-Ray and Enscape and so has every reason to be sceptical, is unusually direct. Writing about AI tools for interior design, it says they can misjudge space, distance, and ergonomics and can produce proportions a building could not physically be built to, and it names invented windows as known behaviour. Indoors that costs you a layout; on an elevation it costs you the design. A facade rendering workflow for architects has to be built around that behaviour rather than in spite of it.
The pressure to try anyway is measurable. In the Chaos and Architizer State of Architectural Visualization survey of roughly a thousand architects and designers, 43% named slow rendering times a major challenge. Houzz, reported through KBBFocus, found 86% of architects reporting higher operating costs and 56% naming increased efficiency their top priority for 2026. A phone photograph and twenty minutes is attractive; the trade is control.
Shoot the base photograph as if it were the deliverable
Every option in the set inherits this frame. If the verticals bow here, they bow in all six.
Choose the hour by the sun
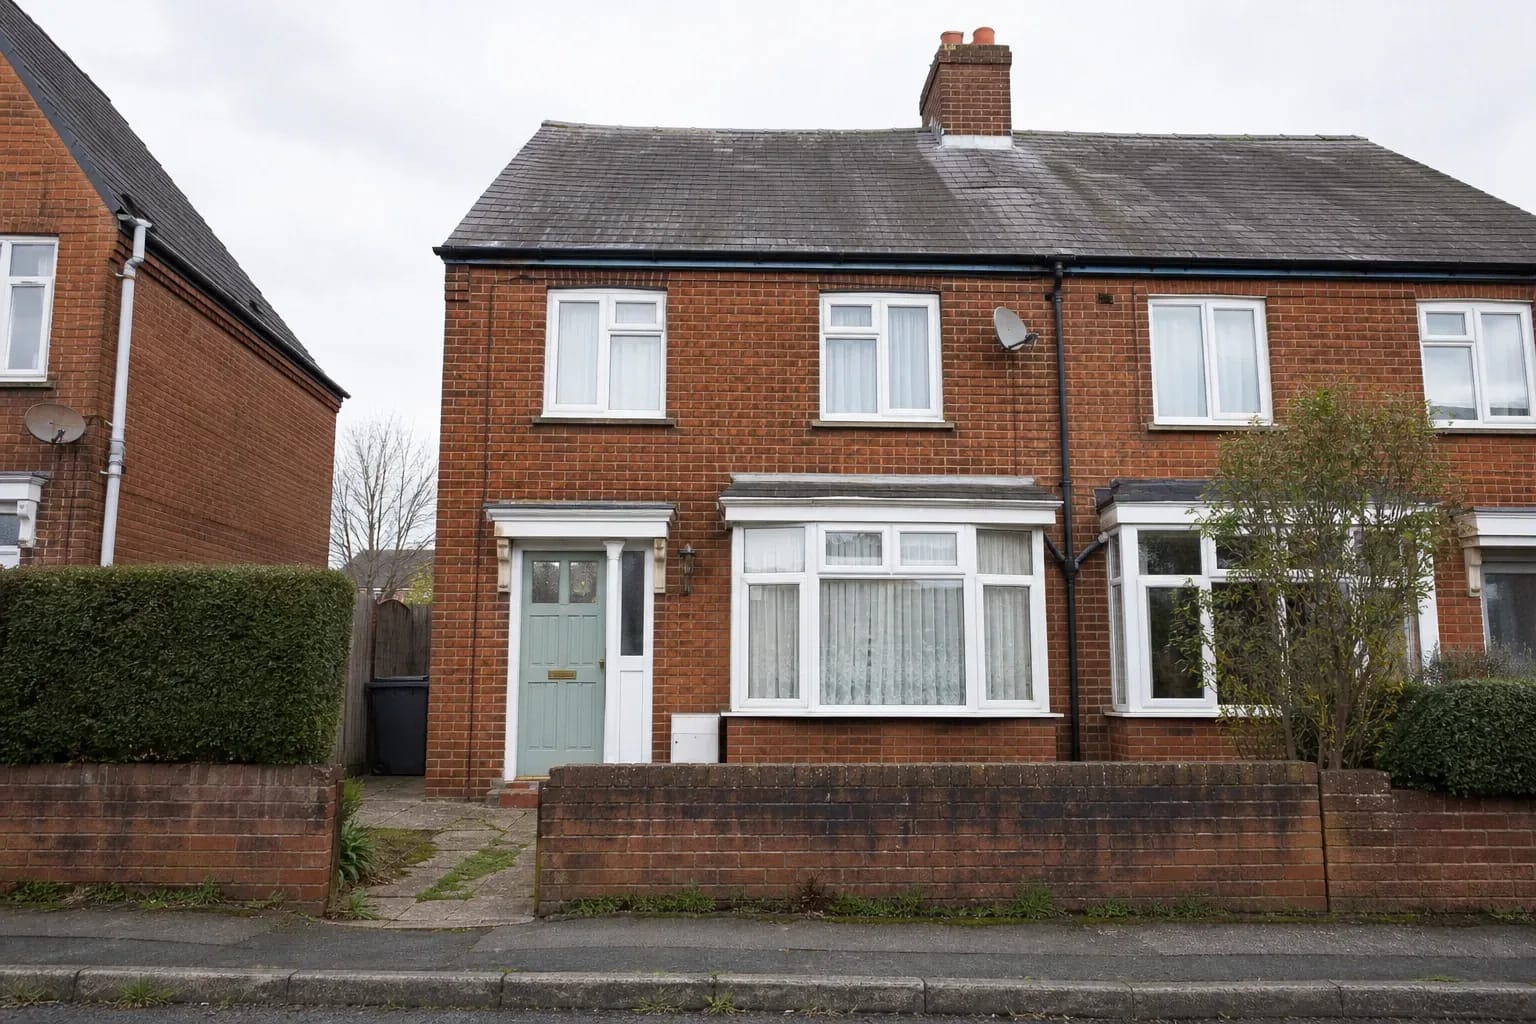
Work out which way the elevation faces before you leave. A north-facing front never gets direct sun in the northern hemisphere, so shoot it under bright overcast rather than waiting for light that is not coming. For a sunlit face, raking light records reveal depth, coursing and the eaves shadow.
Stand back until it fits without tilting
Cross the road. Tilting up to catch the roof gives converging verticals, which the model resolves inconsistently across the width of the building. Chest height, phone level, square on.
Use a normal lens
A 24-35mm equivalent is the working range. The 0.5x ultrawide bows the middle of the elevation and stretches the edges, which on a wide house is exactly where the interesting parts sit.
Move everything that can be moved
Cars off the drive, bins away, ladder in the van. Each object removed is one the model cannot redraw as something else.
Work around what cannot move
Wires, a lamp column, a street tree, the neighbour's flank wall. Take a second frame from a position where those overlap the building least and keep both: one to render from, one for the file.
Shoot the whole set in one visit
Front, both obliques, every elevation that changes, plus a tight frame of the existing material for reference. Same light, same settings - you will not match today's light next Tuesday.
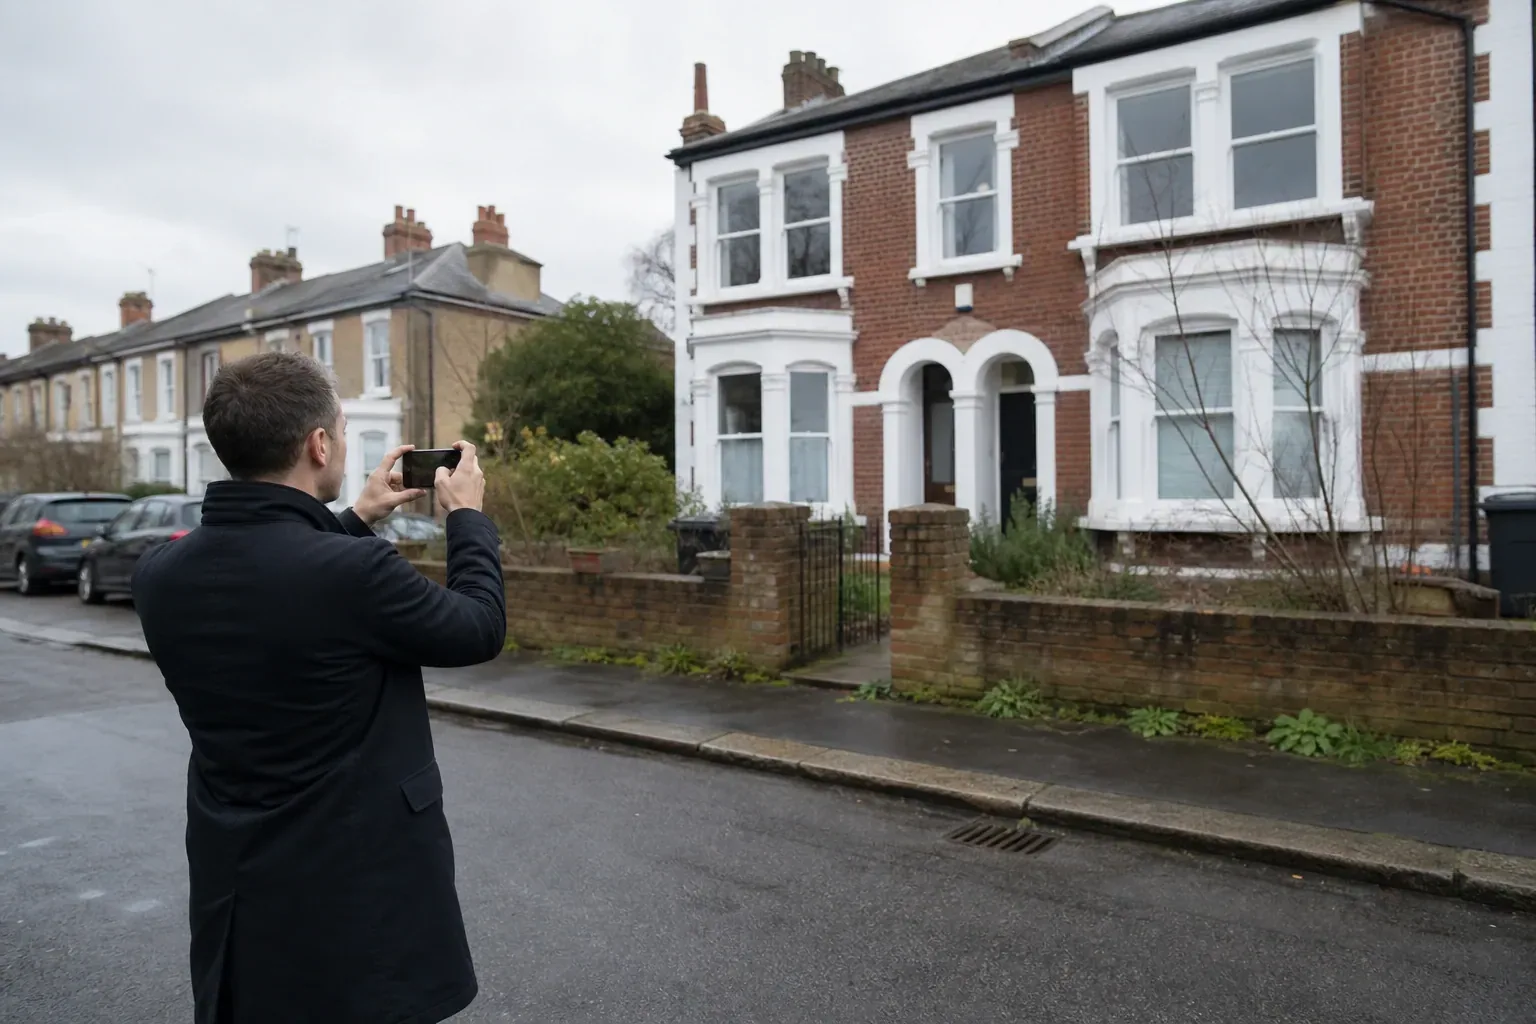
None of this is exterior-specific dogma. It is the same input discipline indoors, applied to a subject that cannot be tidied before the shoot.
Lock the building, change the skin
One test decides whether a facade render is usable, and it takes ten seconds. Open the original and the render at full size and flick between them. If window heads move, the ridge shifts, or the ground line rises, throw it away. A thumbnail in a slide deck will never show you that.
The list of things that must not change is short enough to keep by the monitor: ridge height and roof pitch, eaves and verge lines, the position and size of every opening, floor-to-floor dimension, chimney position, and the ground line where the building meets the site.
Write the brief as a change list rather than a description. Contemporary brick house tells the model to design a house. Replace the painted render with buff facing brick; keep all window and door openings, the roof form and the building outline exactly as photographed tells it to re-clad yours. Custom prompts come with the Starter plan, and the preservation clause is what to spend them on - identical wording on every run.
When one element changes - a front door, a dormer, a porch canopy - do not re-render the elevation. Brush the region in Inpaint Edit and describe the change; nothing outside the brushed region is re-rendered, so the rest of the building cannot drift.
Test cladding as a set, not one material at a time
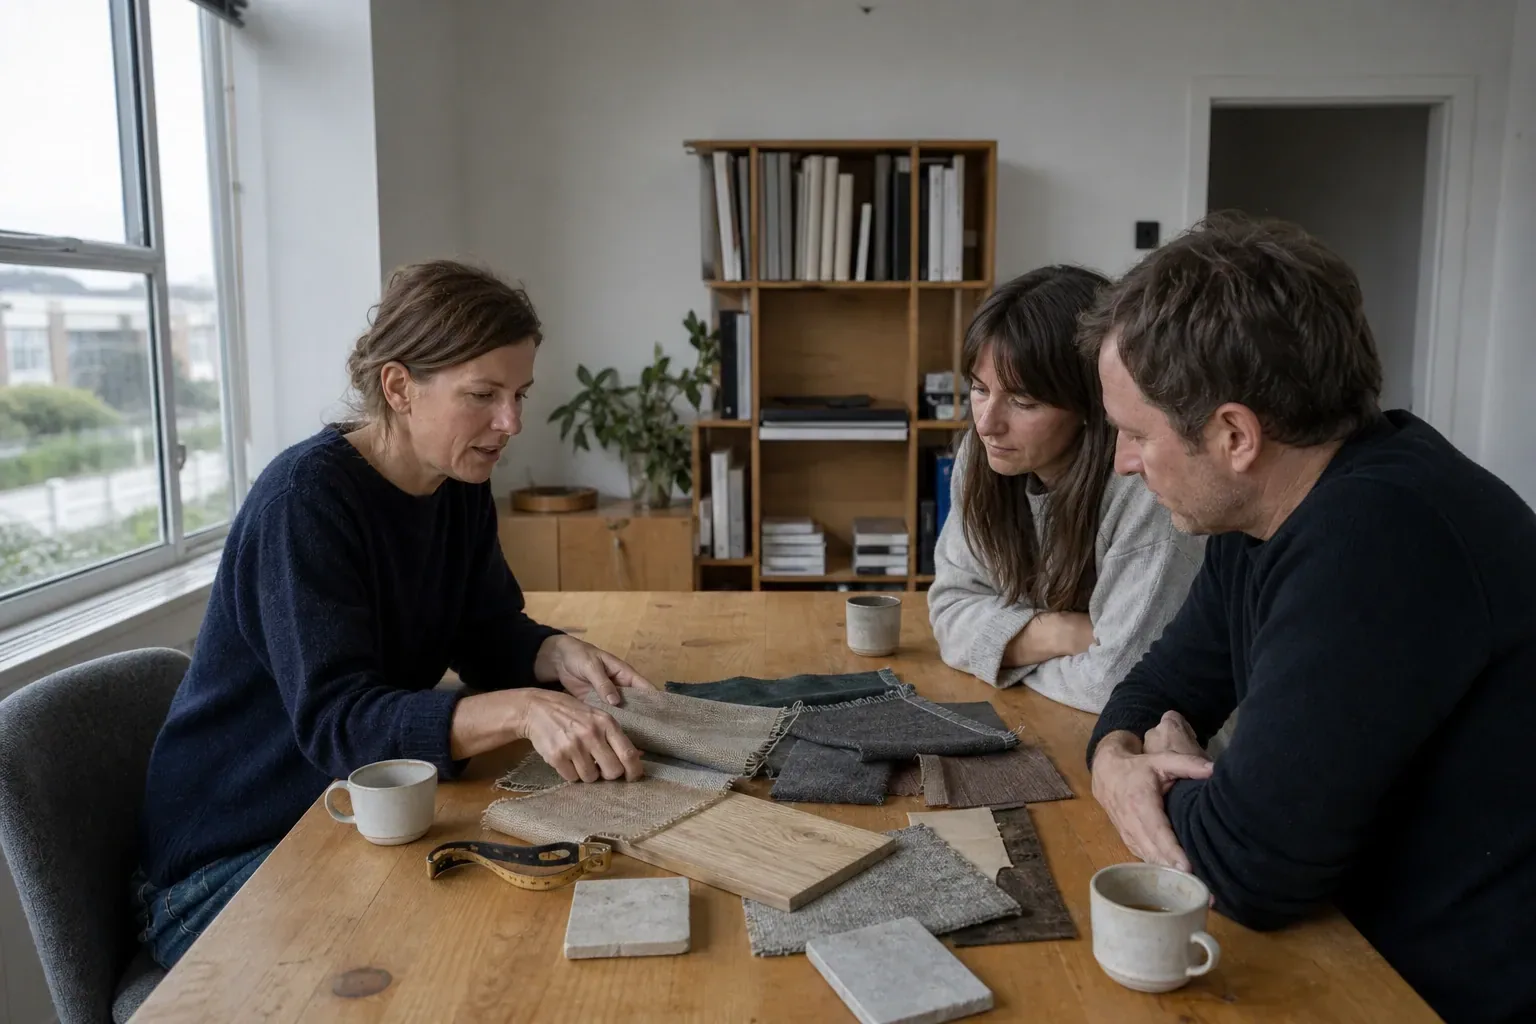
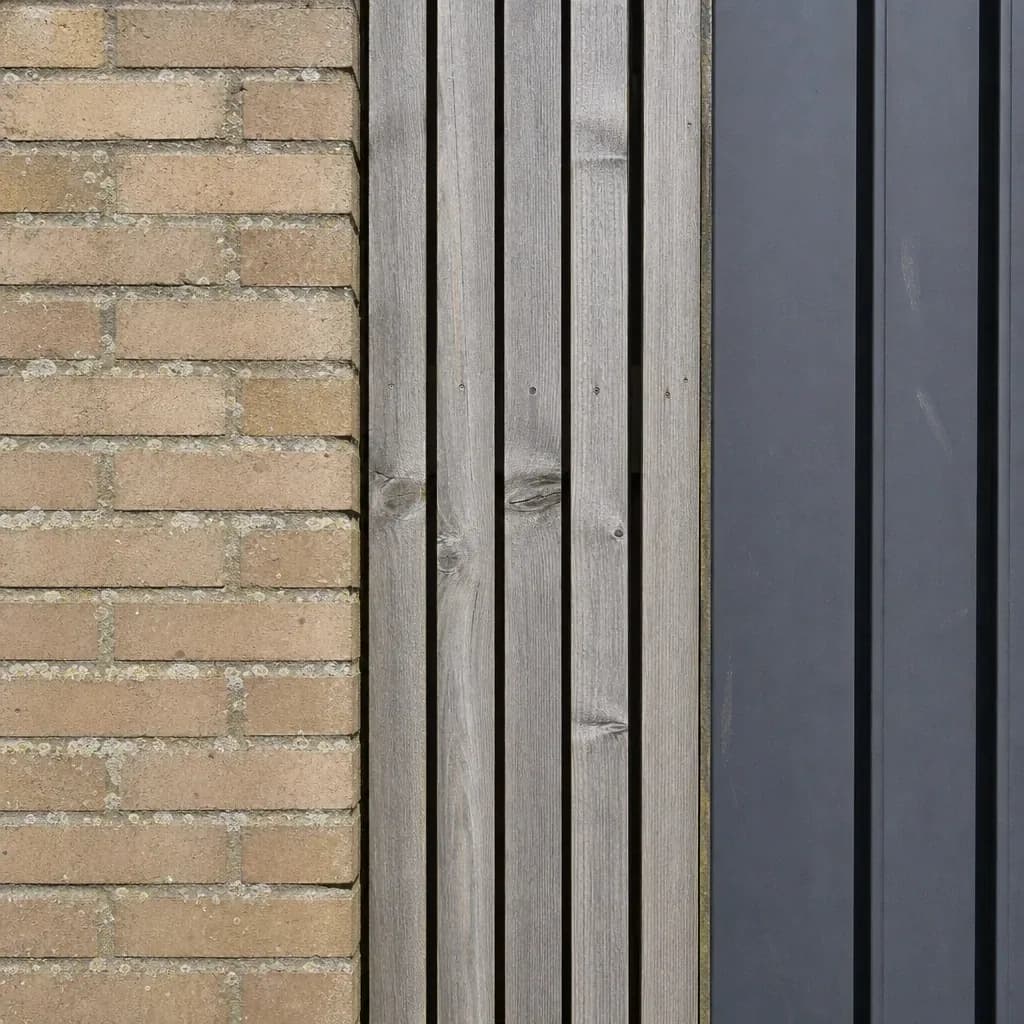
Material selection is a comparison, and a comparison only works when one variable moves. Generate brick on Tuesday morning and timber on Thursday afternoon and the client is comparing two skies and two independent guesses at the same building. They will pick the one shot in better weather.
Fix the base frame
One photograph for the whole study, not a similar one taken a step to the left.
Fix the language
Change only the material clause between runs. If you improve the wording halfway through, start the set again.
Run the set in one sitting
Six materials back to back, before you look closely at any of them. Judging as you go pulls later prompts toward the option you already like.
Name files by material immediately
Otherwise the set gets presented in generation order, and generation order reads as a ranking.
Re-roll the failures, then stop
Two or three of six typically come back with a bent mullion or the wrong coursing scale. Run those again from the same base photograph; leave the rest alone.
Budget for the waste: a six-material study is rarely six renders. Axisnook is credit-based, and the figure to set against a studio invoice is the monthly one - Starter is $9 for 30 credits, Pro $39 for 120, and unused credits roll over while the subscription is active. Re-rolls are the reason to check the count before the meeting, not after.
Facade materials: what to check before the render leaves your desk
| Material | Check first | Usual giveaway | If it is wrong |
|---|---|---|---|
| Facing brick | Course height against storey height; bond holding across the wall | Courses that grow or shrink between openings | Re-roll; coursing rarely brushes out |
| Through-coloured render | A flat plane, and no movement joints where you have none | Trowelled at the top, sprayed at the bottom | Re-roll with the finish named |
| Timber cladding | Board direction, board width, shadow gap | A vertical run that turns horizontal at a return | Re-roll; state orientation and width |
| Fibre-cement board | Joint layout; grain drawn onto a product with none | Wood grain and knots on a flat board | Custom prompt naming a smooth finish |
| Standing-seam metal | Seam spacing; seams staying parallel over a hip | Seams that fan out for no geometric reason | Re-roll, or brush the one bad bay |
| Natural stone | Coursing type, joint width, one stone repeating | A visible tiling repeat, or rubble laid in straight courses | Re-roll; a repeat is not a retouch |
Treat that as a checking routine, not a claim about how any model behaves on your particular photograph. Run it on a building you know intimately before you run it on a client's.
From a sketch or an elevation drawing to a photograph
Not every facade study starts with a building that exists. Extensions, replacement dwellings and competition work start as a line drawing, and Sketch to Photo turns a hand drawing into a photograph.
Prepare the drawing first. Use a consistent line weight and close every outline: broken outlines leak, and the model bleeds a wall into the sky. Shade the window reveals and put a shadow under the eaves - that one move tells it where depth is, and separates a photograph of a building from a photograph of a painted board. Add a ground line and a rough indication of what sits either side, then shoot the drawing flat, square-on, in even light with no shadow of your own hand across it.
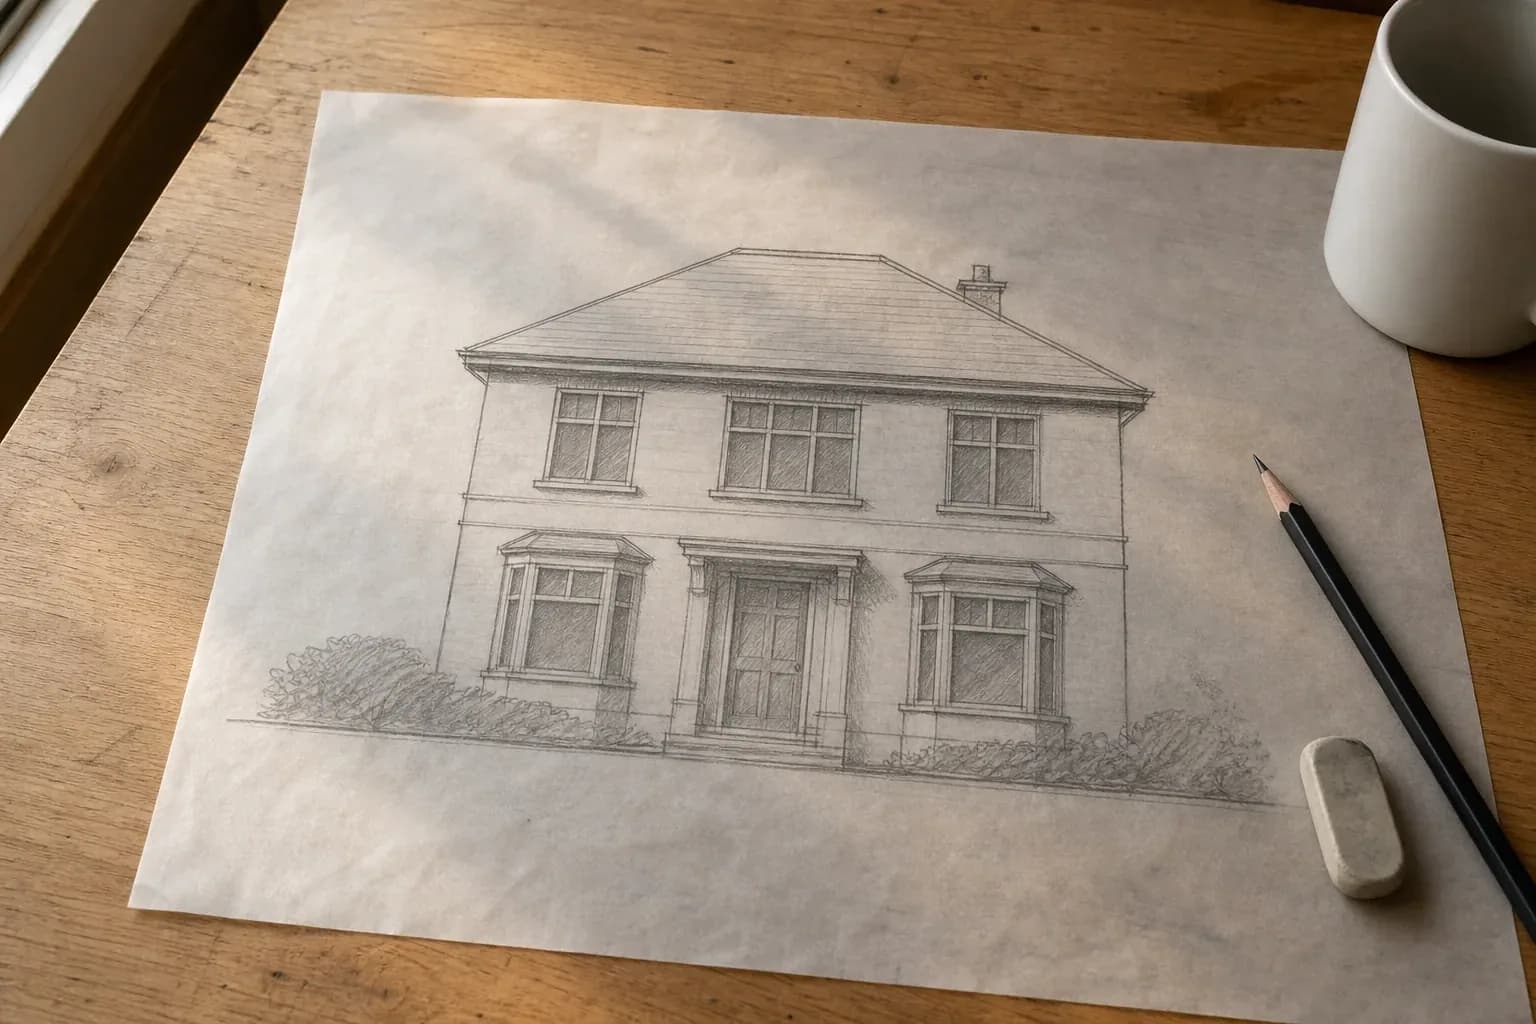
An orthographic elevation is a harder input than a sketch perspective, because it holds no depth information at all. The model invents the return of the building, every reveal depth and the roof overhang, plausibly rather than correctly. If the design turns on a deep reveal or a projecting bay, draw it obliquely instead and let the drawing carry the depth.
Where the client cannot read the plan either, 3D Floor Plan turns a flat 2D plan into a furnished photoreal 3D view across 14 styles. That answers how the extension works to live in, rather than how it reads from the pavement.
Where facade renders come apart
Almost nobody selling these tools publishes a failure, and every practitioner has a folder of them. These are the ones to check for by name.
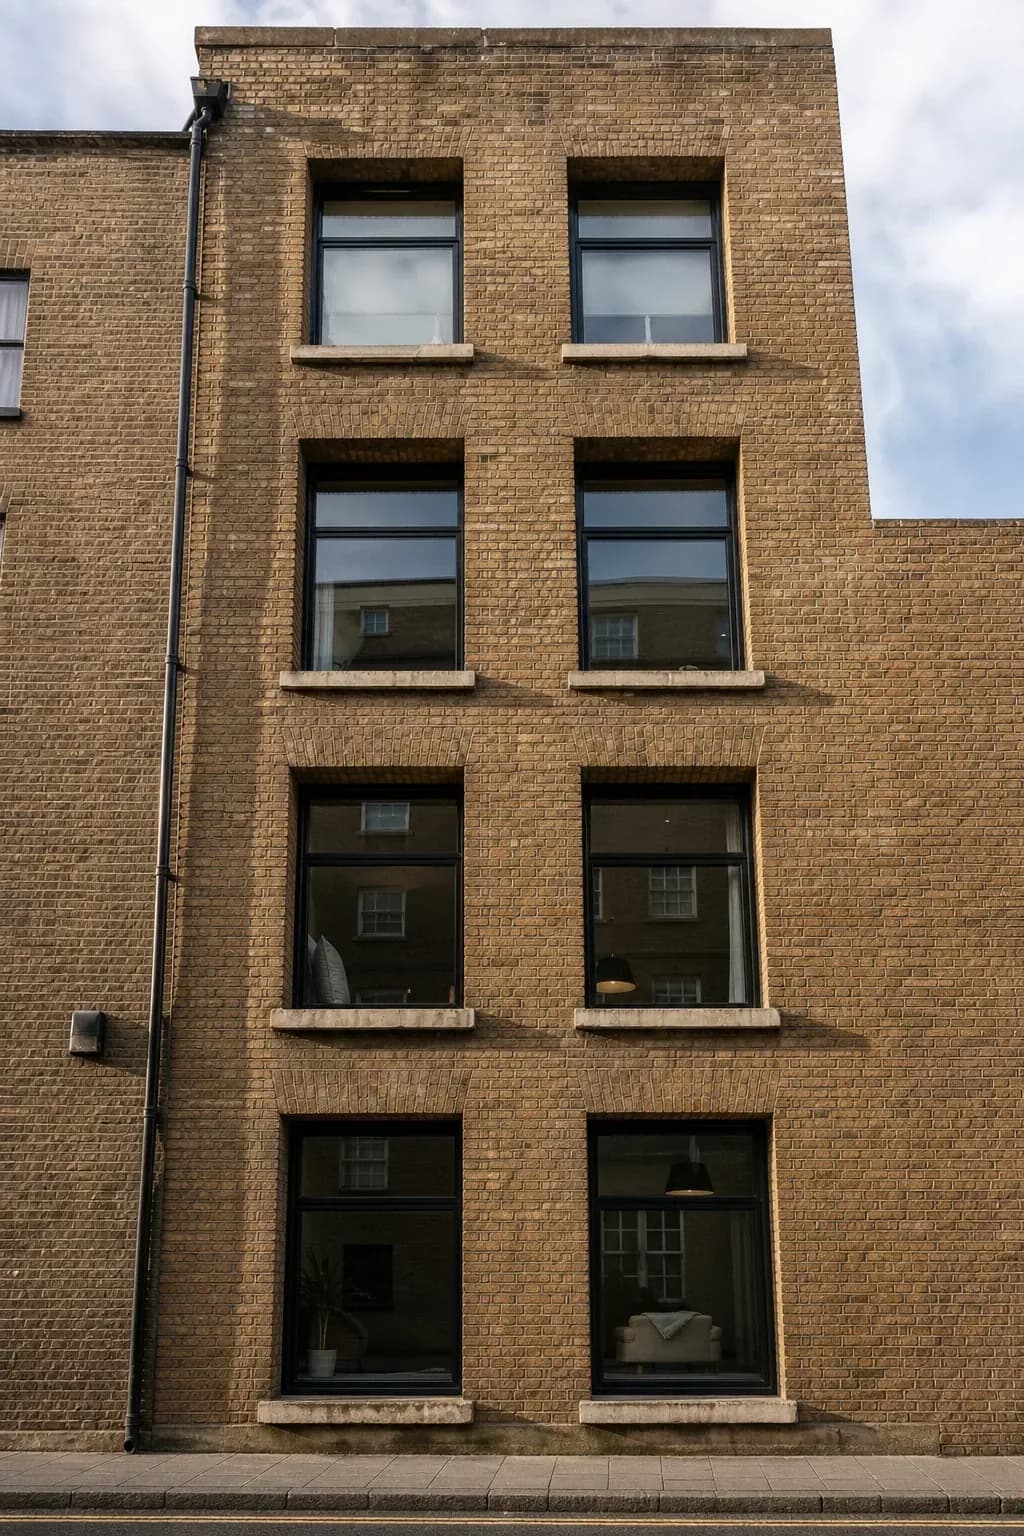
- Window geometry. Mullions bow, transoms drift, head heights stop agreeing across the elevation. A designer testing consumer tools on real interiors found one adding big changes such as extra windows or doors outright. Indoors that is an annoyance; on a facade it is fatal, because the opening rhythm is the design.
- Roof pitch and ridge drift. Hips shallow out, ridges migrate, dormers appear that were never photographed. The ridge should land on the same line as the original, checked against a window head rather than against the frame edge.
- Coursing and joint scale. Courses too tall for the storey, stone that visibly repeats, board widths that change mid-wall. This is why a render reads as fake to an architect and fine to a homeowner.
- Shadows that disagree with the sky. Eaves shadow, porch shadow and glazing reflection all have to agree about where the sun is. New York's Department of State, warning buyers about AI-generated listing photos, told them to look for distorted or inconsistent details including inconsistent window views.
- The neighbour re-invented. A terrace becomes semi-detached, a party wall grows a gap, a copy of your building appears next door. That is the image a neighbour sees at consultation, so check it as hard as your own.
- Ground line drift. The render raises or lowers grade, changing the step count at the front door and the threshold detail with it. Clients notice this one on site.
- Everything gets new. Driveway resurfaced, fence replaced, roof re-tiled, because that is what better looks like. If it is not in the scope, you have illustrated a quote you did not give.
The fix for most of these is a re-roll from the same base photograph, not a repair pass over the output: re-rendering an edited render compounds every error already in it. If one region is wrong and the rest is right, brush that region and leave the rest untouched.
Vegetation, season and the maturity problem
If a tree is in the frame, the client believes the tree is in the deal. Models draw planting at its most flattering: in leaf, in flower, and about fifteen years old. Where planting forms part of the proposal, that builds an expectation you cannot deliver in year one, and the gap only becomes visible after handover.
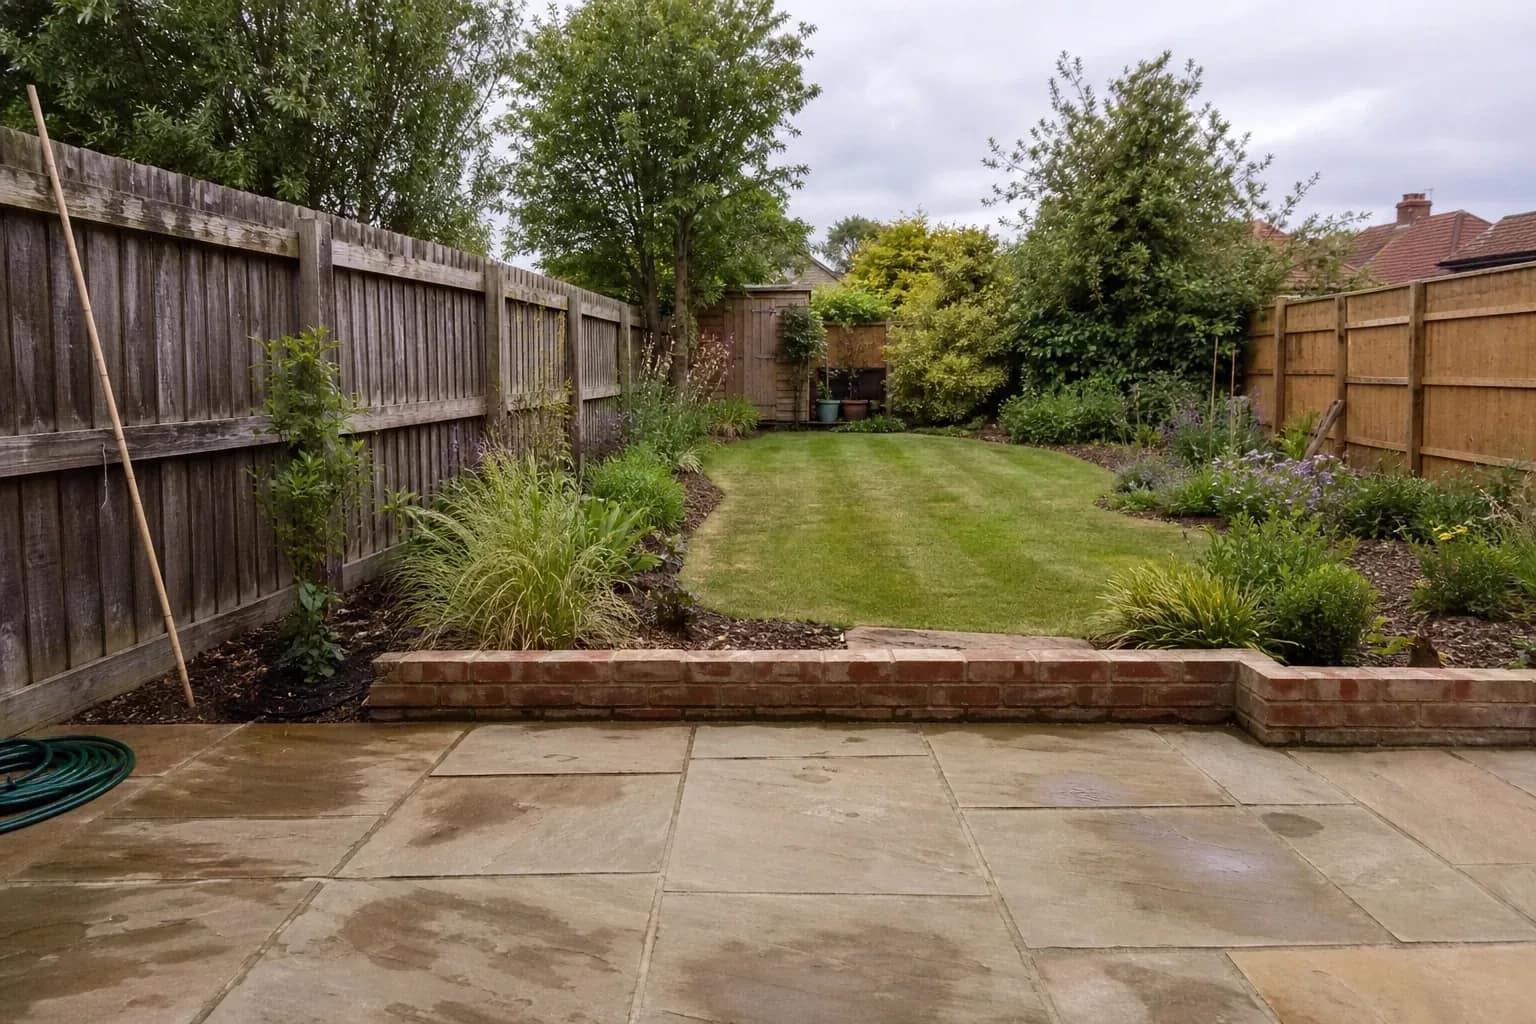
Two habits handle most of it. Caption the season and the age of the planting in words rather than leaving it implied, and produce the winter view of any elevation screened by deciduous planting - a facade half-hidden by a lime tree in July is fully on show in February, which is also when a planning officer may be standing in front of it. Where the proposal covers the ground around the building as well as the building itself, the same problem runs through paving, levels and lawn establishment.
What a review committee will accept, and what it will not
Be straight with yourself here. Planning authorities and HOA architectural review committees decide on drawings: scaled existing and proposed elevations, a materials schedule, and usually a physical sample or a named product. An AI render from a phone photograph sits alongside those as illustration and replaces none of them.
What it is good at is the part drawings are bad at: showing a lay committee member, a neighbour at consultation, or a homeowner on a review board what the proposal looks like from the pavement. In a UK application, that is broadly the job visual material does inside a Design and Access Statement, as architecture practices describe it - a document that explains and justifies the design rather than dimensioning it. Check the validation checklist published by the authority you are applying to before you assume what it will accept.
What to put in the packet:
- The unaltered site photograph and the proposed image: same position, same frame, same day.
- A caption naming what changed and what is indicative. Cladding shown as buff facing brick; window positions, roof form and outline unchanged from the survey photograph.
- The material named as a product or range, not merely shown. No committee approves a colour it can only see on someone else's screen.
- A plain statement that the image is a digitally altered photograph.
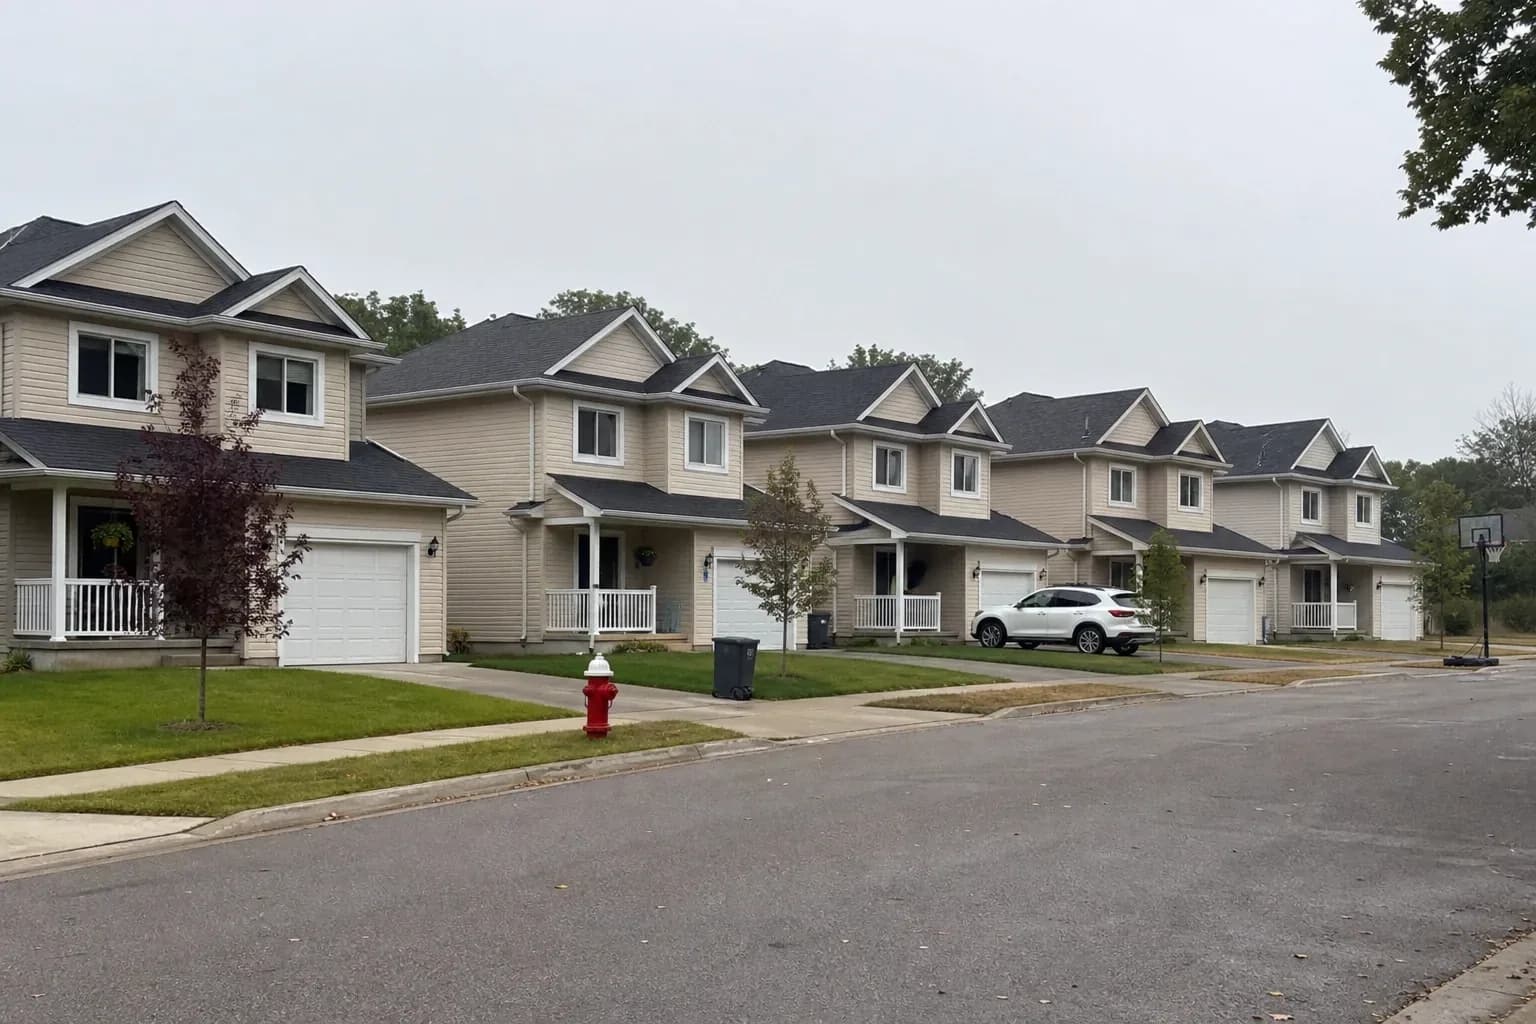
If the image leaves the design file for a property listing, a different rulebook applies. CRMLS guidance says users cannot add, remove or modify any real part of a property such as wall colour, flooring, cabinets, wall dimensions or landscaping, enforced with a warning and then a $250 fine. California's AB 723, operative 1 January 2026, names facade and landscaping among the alterations that require a conspicuous disclosure on or adjacent to the image, plus a link, URL or QR code to the unaltered version. A cladding study is a design instrument; the moment it is used to market a specific property, it is an altered listing photograph.
When to hand the job to a real visualization pipeline
A facade rendering workflow for architects that starts from a photograph has a ceiling. Hand the work to a modelled pipeline when the proposal changes the massing rather than the surface; when you need a viewpoint that does not exist as a photograph; when the image has to be dimensionally accurate; or when the visual is the primary evidence in a committee presentation or a competition entry.
That is close to how the profession already uses it. In the Chaos and Architizer survey, 11% of firms were actively using AI in visualization, and the named uses were concept images (44%), fast design variations (35%) and enhancing photorealism (32%) - the front of the process, not the end of it. Chaos's own recommendation is to use AI for ideas, then real-time visualization tools for validation.
The other half of the value is not in the image at all. Five comparable facade options are worth what the meeting does with them, and how to run the presentation itself - how many to show, in what order, how to caption them so they do not over-promise - decides whether the client picks one or asks for a sixth.
Common questions
- Can I submit an AI facade render with a planning application?
- As supporting illustration, yes. Not in place of the scaled elevations, site plan and materials information the authority asks for. Read its validation checklist, treat the render as explanation rather than evidence, and label it a digitally altered photograph.
- How do I stop the model changing my window openings?
- Write the brief as a change list with an explicit preservation clause naming the openings, roof form and outline, and keep that clause word-identical across the whole set. Then verify at full size rather than from a thumbnail. If one region has drifted, brush it rather than re-rendering the elevation.
- What is the best light for the base photograph?
- Raking light across the elevation rather than square into it, because it records reveal depth, coursing and the eaves shadow. For a face that never gets direct sun, bright overcast beats waiting.
- Can I render straight from an elevation drawing?
- Yes, through Sketch to Photo, with a clear trade. An orthographic elevation holds no depth, so the model invents reveal depth, overhang and the return of the building. Where depth carries the design, draw a slight oblique instead.
- Should I tell the client the image was AI-generated?
- Say it as a matter of course, in the caption, alongside what changed and what is indicative. It costs nothing at concept stage and removes the worst conversation available later.

Written by
Axisnook Editorial Team
Design visualization writers at Axisnook
The team that builds and supports Axisnook, writing from the render queue rather than the press release.
- Interior and exterior design visualization
- AI render workflows and prompt design
- Client presentation and revision process
- Real-estate listing and virtual-staging disclosure