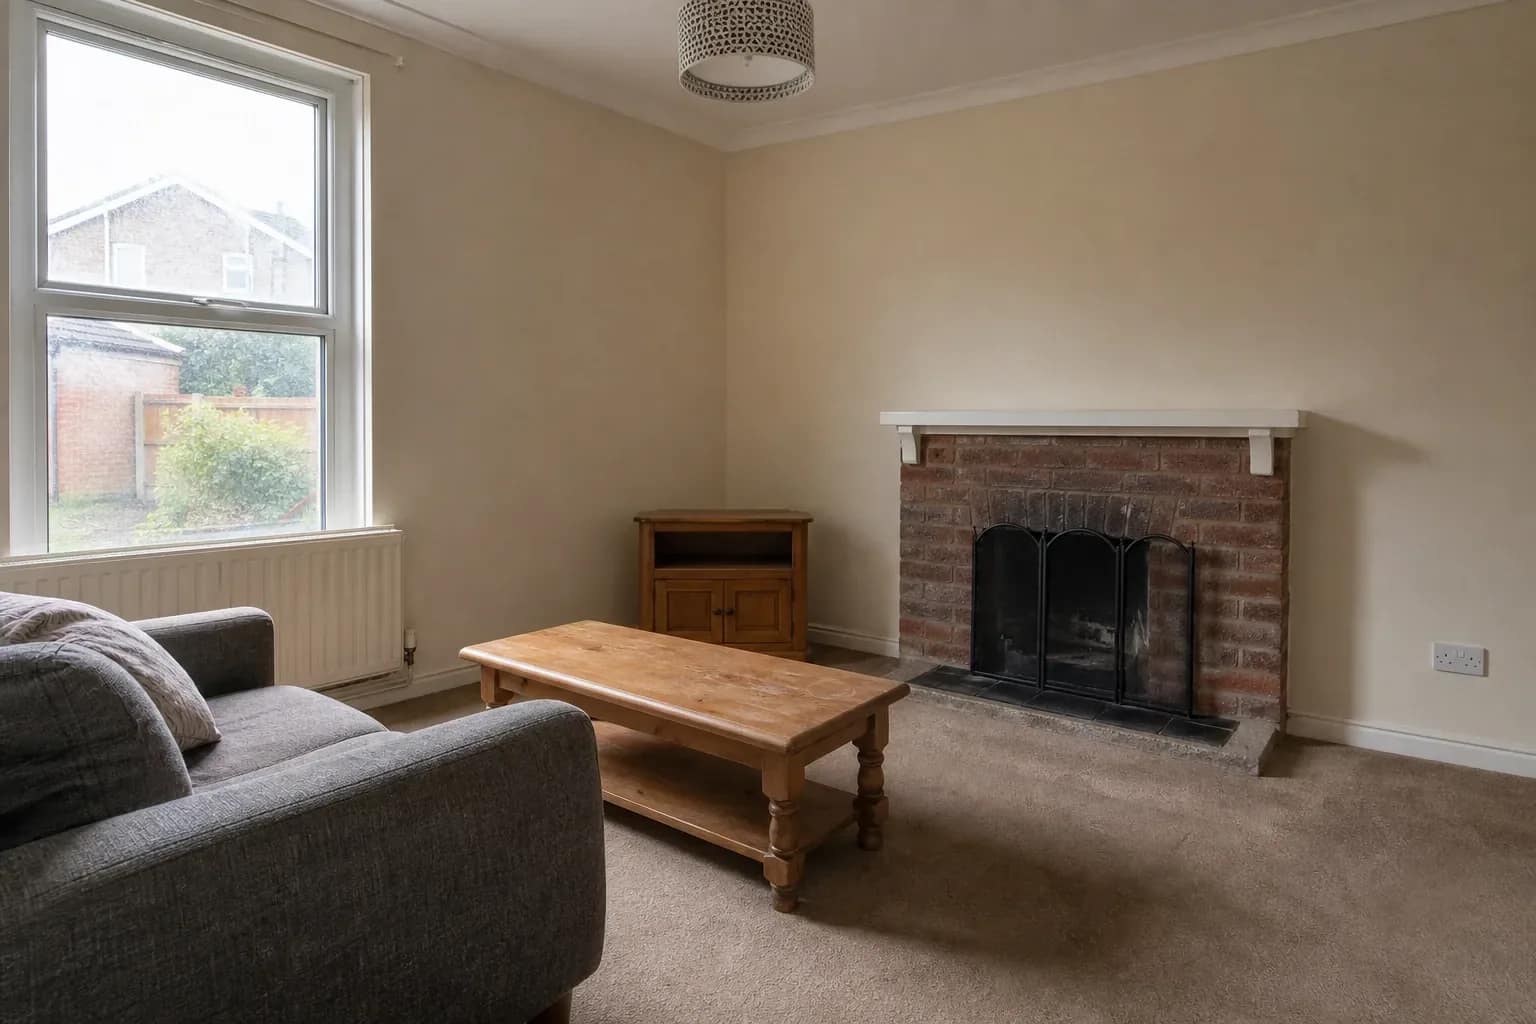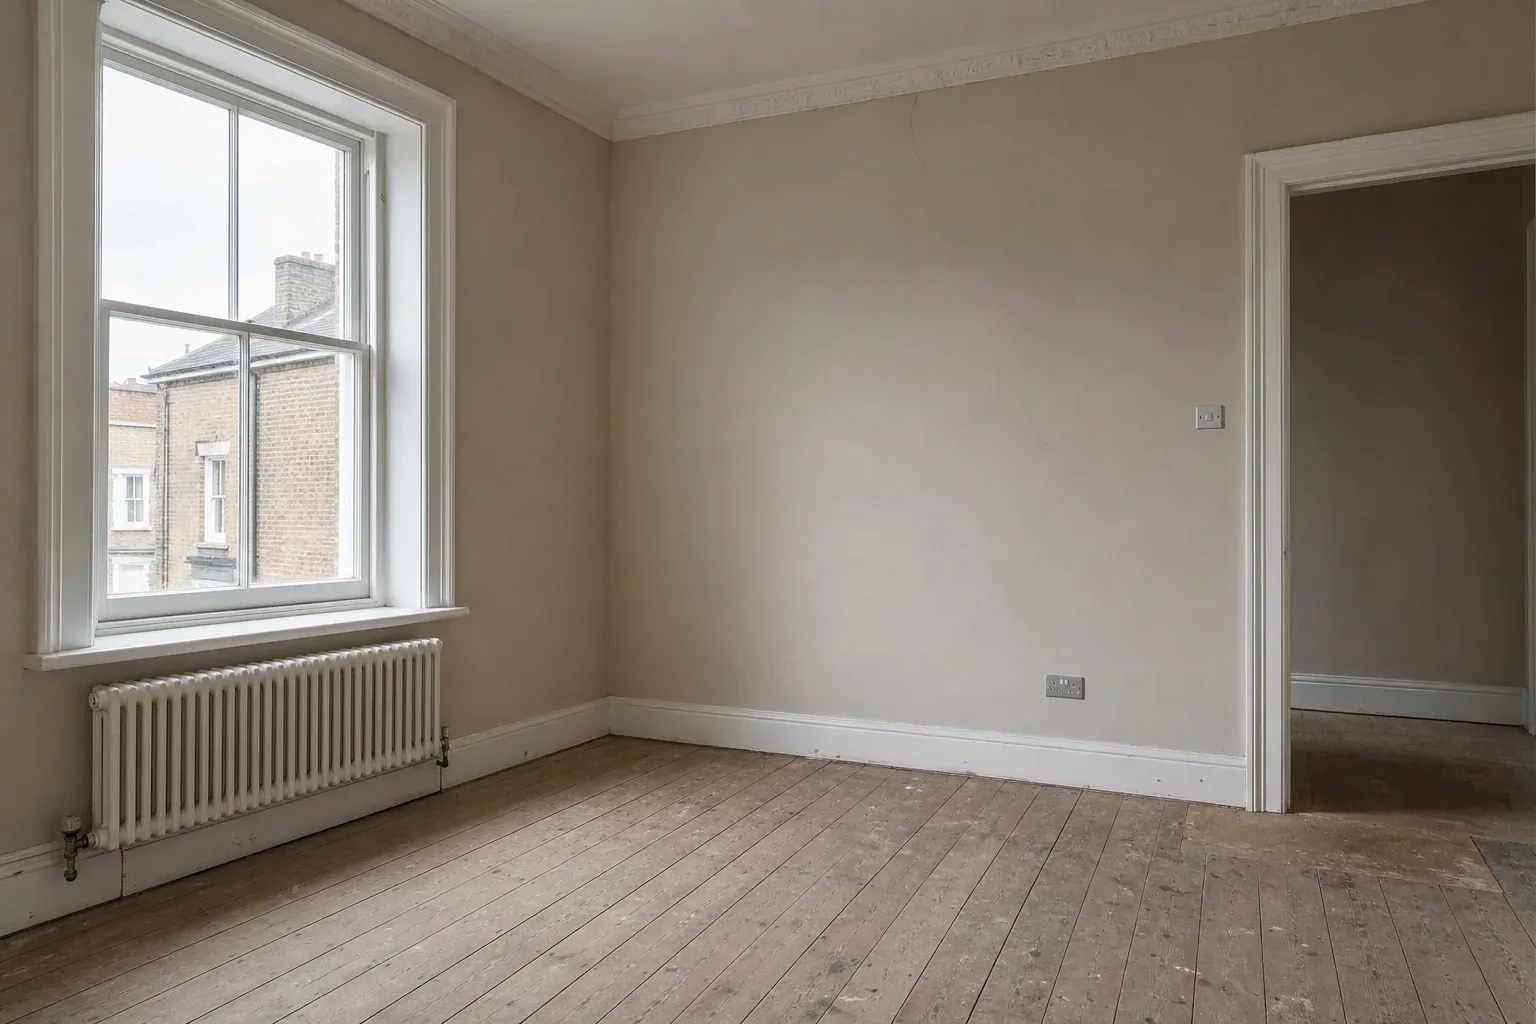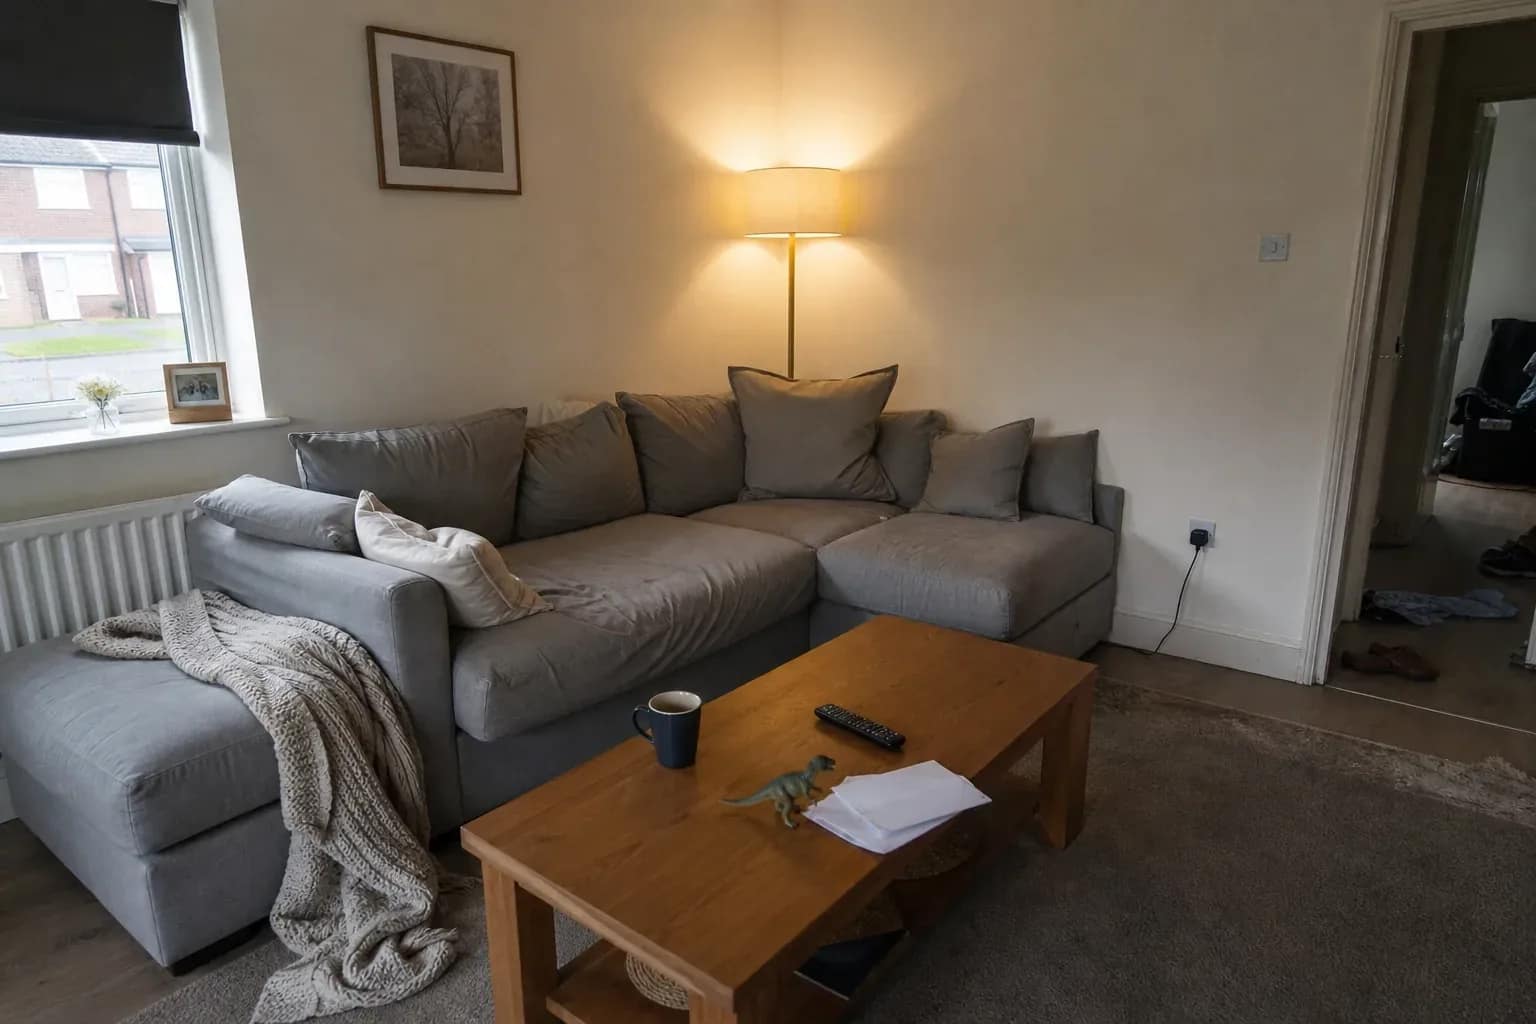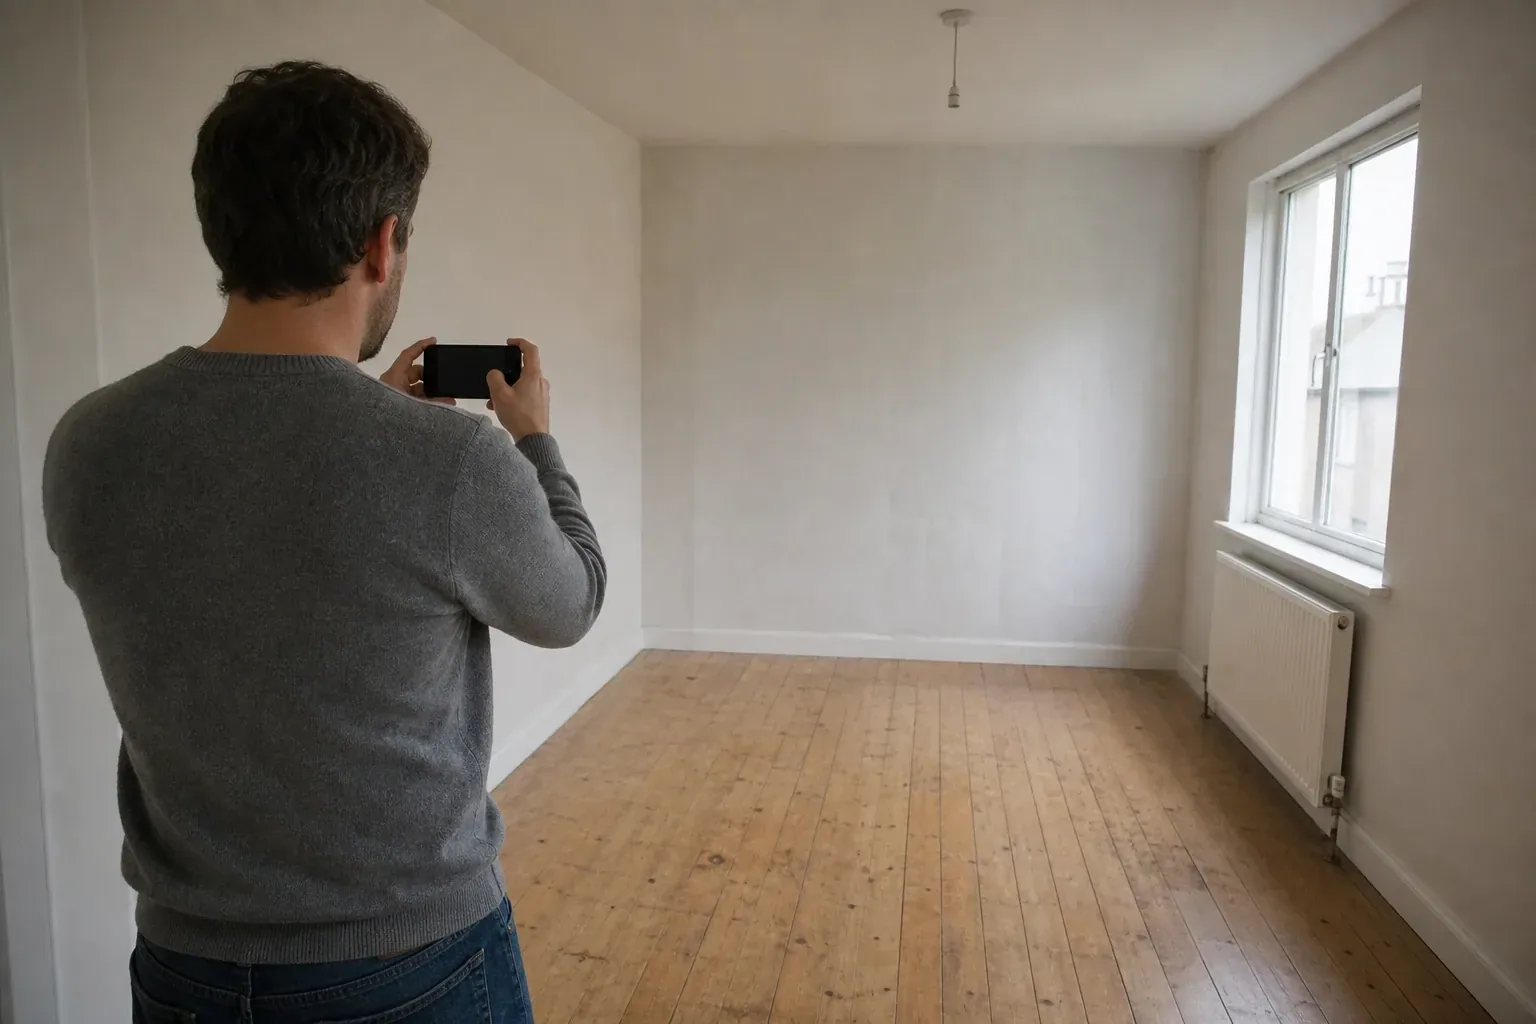
The model never sees your room. It sees a compressed image of it, and everything it cannot read in that file it invents. Lens choice, camera height, one lamp left on and a coffee table nobody cleared will cost you more failed renders than any prompt fix.
Your photograph is the brief
Every tool that renders from a photograph does the same thing. It reads your image for the geometry, surfaces and light of the room, then re-draws it. Where the photograph is unambiguous the render follows it. Where it is ambiguous, and a wall lost in shadow or a floor line hidden behind a sofa is ambiguous, the model fills the gap with a plausible guess. That guess is where wall thickness changes, a doorway appears, and a client says that is not my room.
This is not a model-quality problem. The 2025 REALTORS Technology Survey found 46% of members using AI-generated content but only 17% reporting a significant positive impact. Near-half adoption, near-zero felt benefit. The gap is workflow, and the front of the workflow is a photograph. Since Florida Realtors, citing NAR research, puts the share of buyers who rate listing photos the most important factor at 81%, how to photograph a room for AI rendering is a thirty-minute skill worth learning properly.
Lens: what the 0.5x button costs you
Your phone gives you at least two lenses and defaults you to the wrong one. The main camera sits around a 24 to 26 mm full-frame equivalent on most current handsets. The 0.5x ultra-wide sits near 13 mm. The wide one fits the whole room in, which is why people reach for it and why the render comes back wrong.
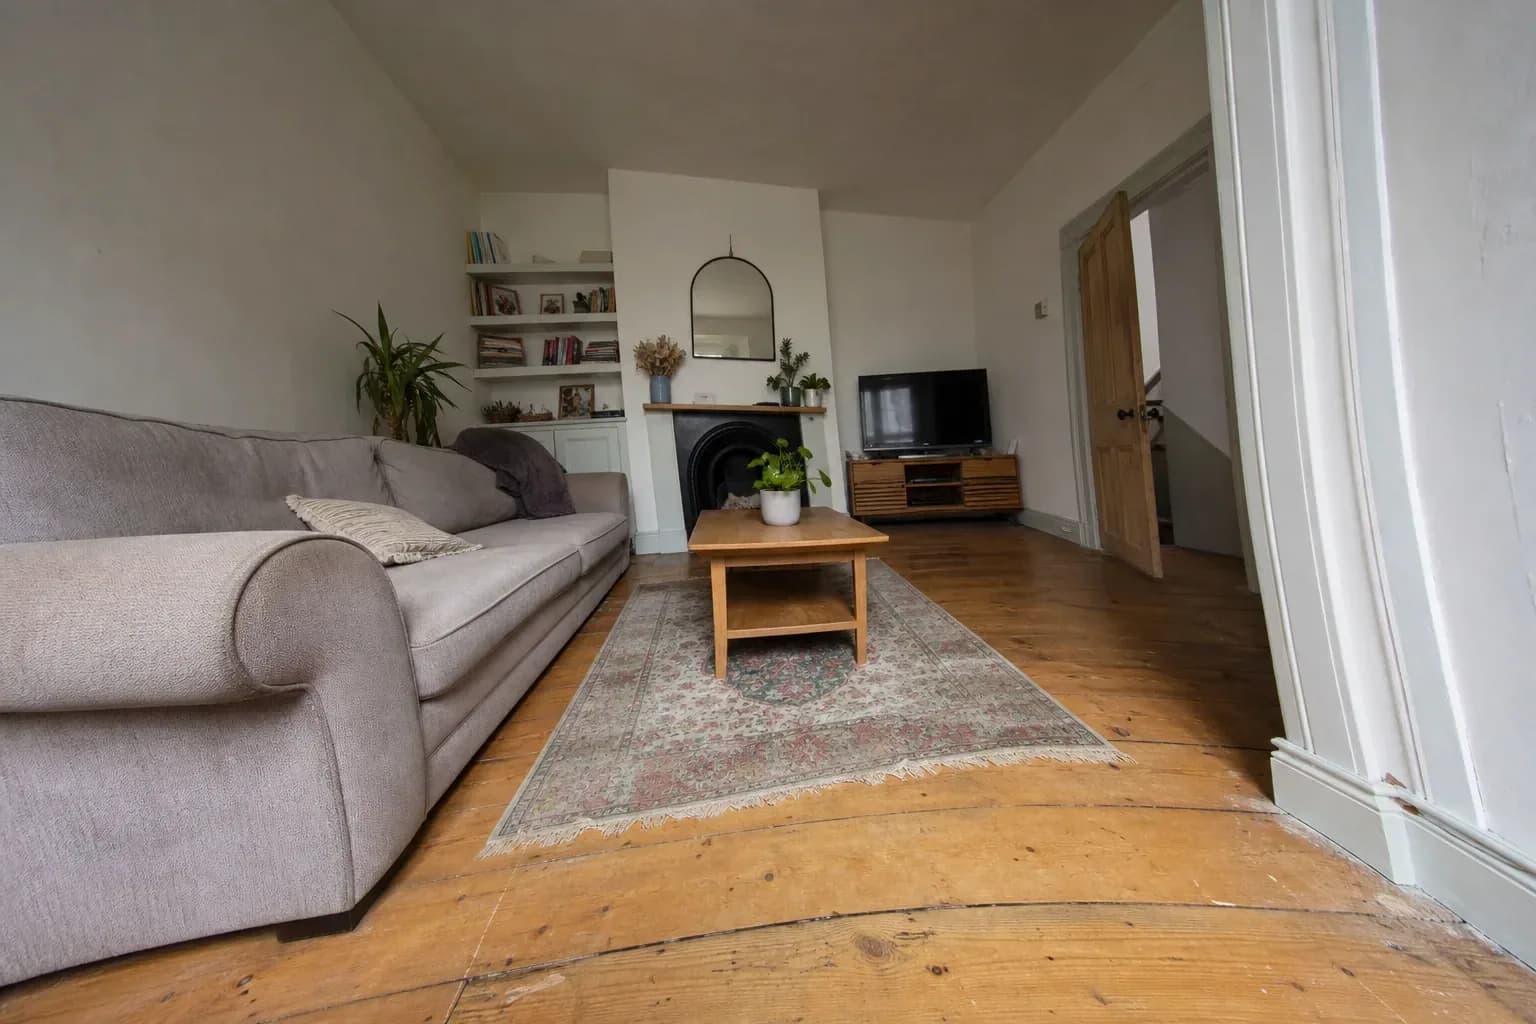
Two things happen at 13 mm. Straight lines near the frame edge bow outward, so the door casing on the left stops being a straight vertical. And objects near the edge stretch, so a sofa arm there reads longer than the identical arm at the center. The model has no idea which lens you used. It reads a bowed casing as a bowed casing and re-draws the room around that false geometry. Ultra-wide modules also usually sit behind a smaller sensor, so corner detail is noisier and sharpened harder, and the corners are where the wall meets the floor.
Shoot at 1x. If 1x will not fit the room, change position rather than lens: back into the doorway with the door open behind you, or take two overlapping frames and render the better one. On a camera, 24 mm full-frame, or 16 mm on APS-C, is as wide as you should go. Listing photography often goes wider than that on purpose, because it makes rooms look bigger. Break that habit here even if you keep it for the listing gallery.
Where to stand, and how high to hold the camera
Stand in a corner. From there you see two walls meeting, a large area of floor and a strip of ceiling. That is the box of the room, and the box is what holds the layout still. Shooting flat at a single wall gives the model one plane and no depth information, so it invents the depth.
Put the camera at chest height on most adults, roughly 4 ft 6 in to 5 ft, not eye height. Eye height makes you tilt down without noticing; hip height exaggerates the ceiling. Use the same height for every frame in the property. The model has no memory between renders, and inconsistent camera height is the fastest way to get two renders of one house that look like two houses.
Keep the back of the phone vertical. Any tilt makes vertical wall lines converge, and converging verticals get read as tapering walls. Turn the grid on and line the frame edges against a door casing before you press the button, rather than fixing it afterwards.
Compose so the bottom 10 to 20% of the frame is clean floor and the top 5 to 15% is ceiling. The floor band stops new furniture floating; without a visible floor-to-wall junction the model guesses where the ground plane sits, and guesses badly. The ceiling strip fixes the room height. Cropping tight to the furniture removes both, and it is the most common self-inflicted wound in the process. Treat the height and the two bands as working rules of thumb rather than a published standard: what matters is that both junctions stay visible and that the numbers do not change halfway through a property.
One color of light, and expose for the room
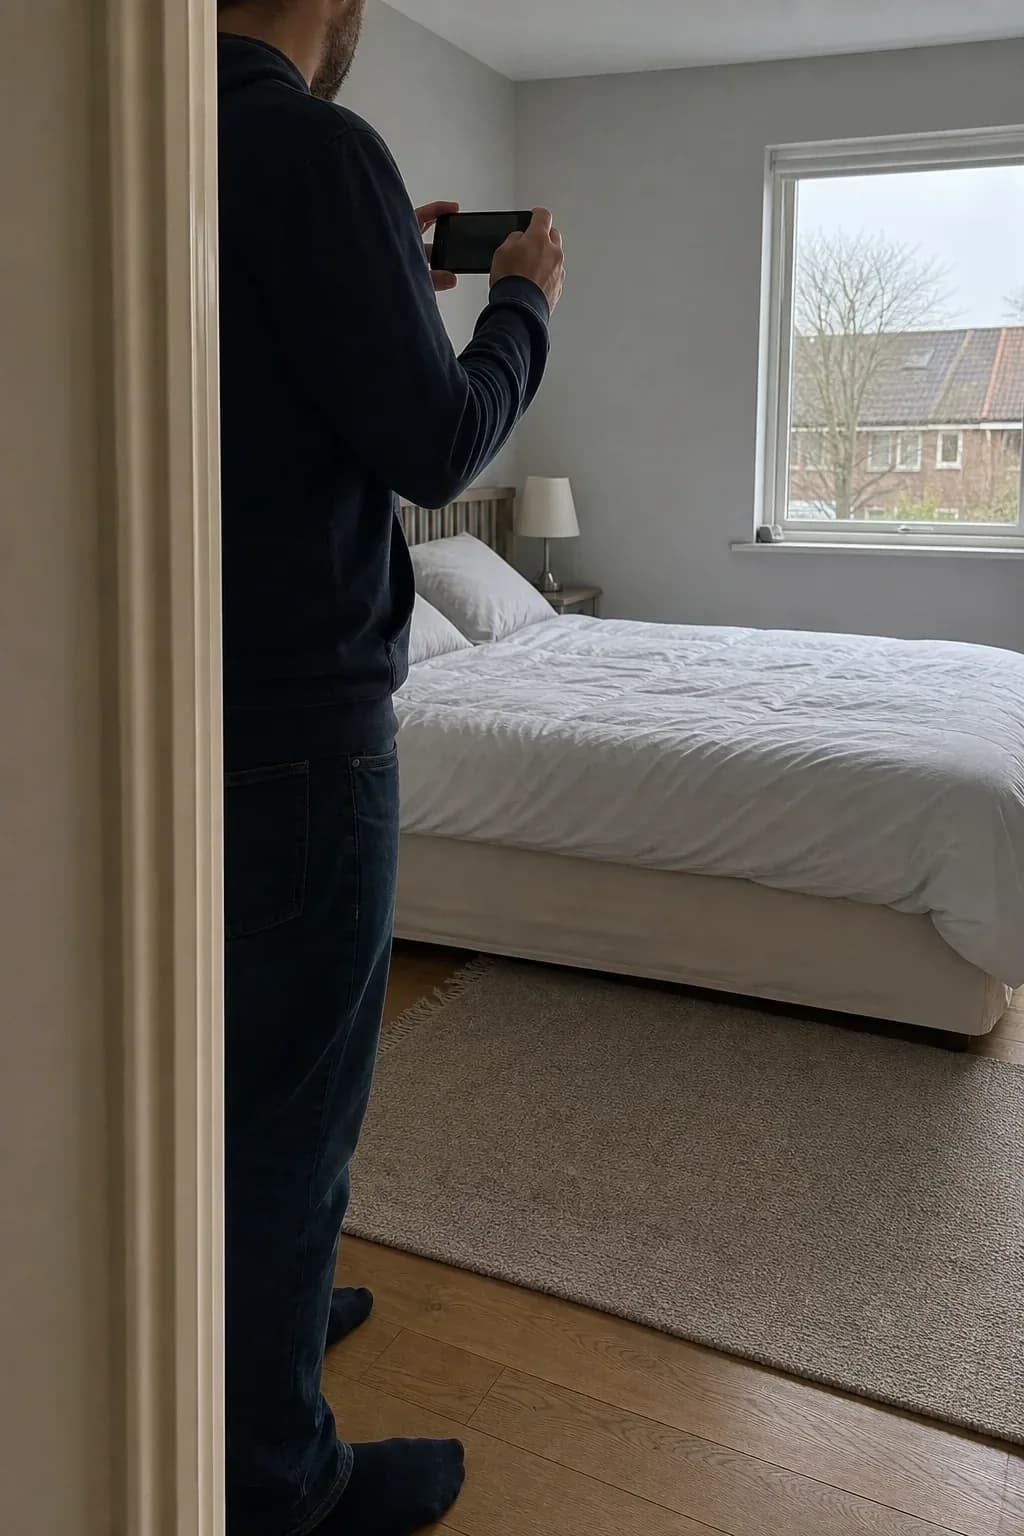
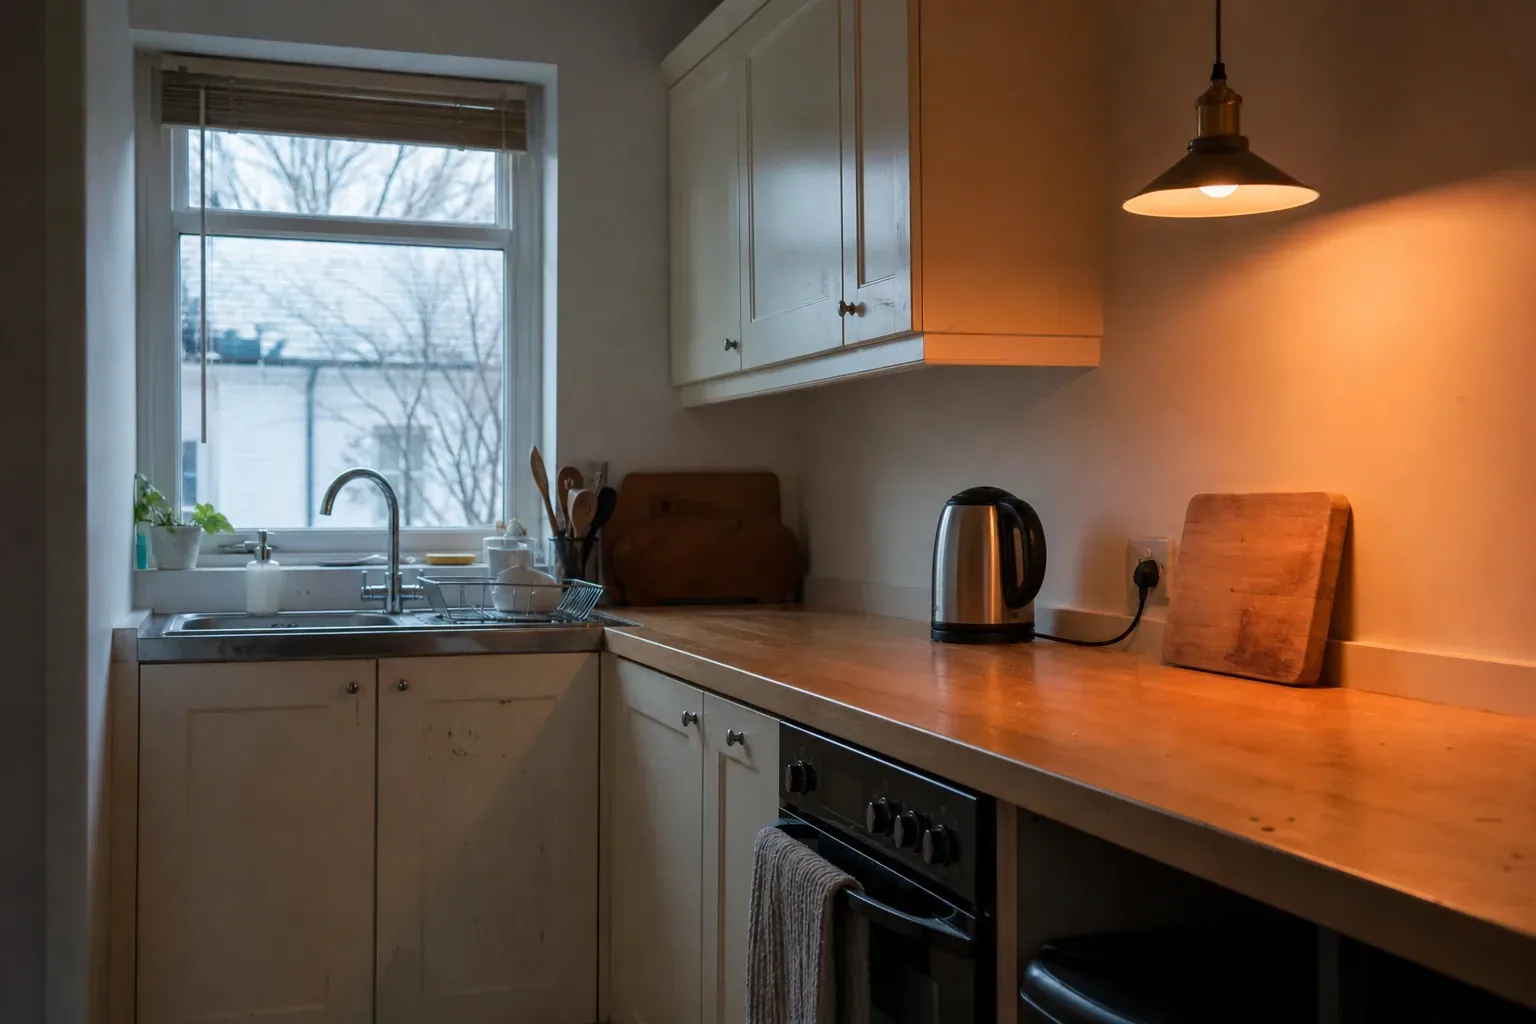
Mixed color temperature produces the most convincing-looking wrong renders in the category. Daylight runs roughly 5,000 to 6,500 K, an incandescent bulb near 2,700 K, a warm LED near 3,000 K, and older fluorescent tubes add a green cast. One kitchen frame can contain three of them, and white balance can only neutralize one. The rest stay orange, blue or green, and the model reads color as material. A green cast on oak comes back as greenish oak, in a render you are about to show a client who specified natural oak.
The fix is blunt. Turn every artificial light off and shoot on daylight alone, blinds fully open. If the room is genuinely too dark, switch on one family of bulbs and leave the rest off. Never use the phone flash: it puts a hotspot on the near wall, leaves the far wall dark, and throws a shadow at an angle that matches nothing else in the frame.
Expose for the room, not the window. Meter on the window and the interior drops into shadow, and the model fills that shadow with invented geometry. Meter on the room and the window blows out to white, which is harmless because a blown window reads as a light source. Tap the darkest wall on your screen, then pull the exposure slider down a touch. If you need the view, shoot it as a separate frame.
Bright overcast is the best interior light there is. Direct sun drops a hard rectangle on the floor, and models read that rectangle as a material change: a lighter patch of boards, sometimes a rug that was never there. Put the main window behind you or to your side, and turn the television off, since a lit screen is one more color temperature pointing the wrong way.
Turn off everything your phone thinks is helping
Your phone is not trying to document a room accurately. It is trying to make a pleasing picture, and nearly every step toward that goal removes information the model needs.
- HDR. Tone-maps locally until the room has no consistent light direction, and leaves halos along window frames, door casings and ceiling lines, which is where the architecture lives.
- Night mode. Stacks a multi-second burst. Anything that moved ghosts, and the noise reduction smears texture into plastic. A room that needs it needs a tripod or a different hour.
- Portrait mode. Synthetic depth blur destroys the far wall, and whatever the model cannot see it re-draws from scratch.
- Scene detection, AI enhance, beauty modes. Over-sharpened edges and pushed saturation. Switch them off.
- Panorama and in-camera stitching. These bend walls by design. Never for a room you intend to render.
Shoot at native resolution, not a storage-saver mode. In a heavily compressed file, window bars, grout lines and baseboard profiles are gone before the model sees them; going enormous buys little, since many tools resize an upload anyway. Crop before you upload rather than after you render, and upload the original file, not a screenshot and not something already through a filter. Re-encoding adds artifacts, and the model treats artifacts as texture.
Clear the room before you clear it digitally
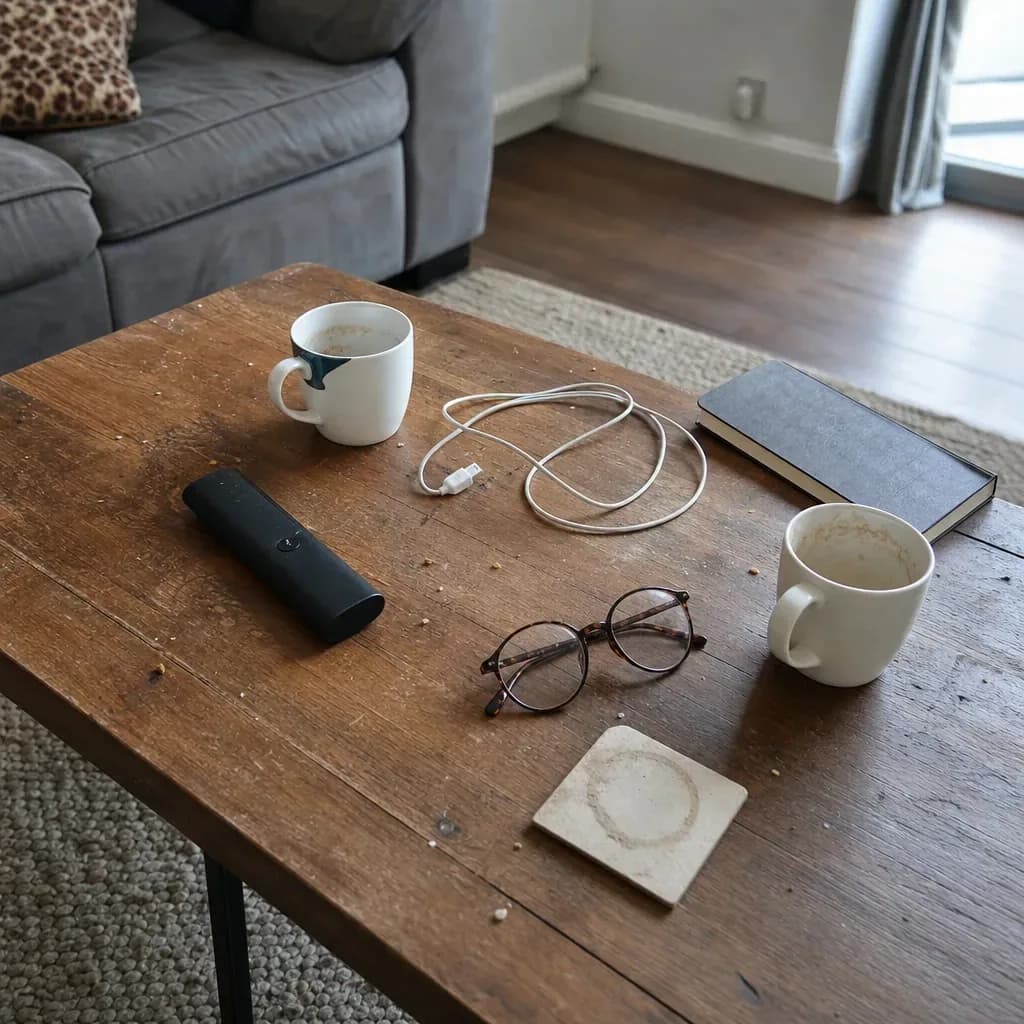
In an occupied home, remove personal photographs, mail, medication and children's artwork before you shoot. Do it for privacy first, and because faces and text in a source photo come back as smeared approximations of faces and text. Unplug and hide cables, which the model reads as texture and returns as stringy artifacts along the baseboard. Clear laundry, pet beds and trash cans, empty the fridge door, seats down. Then walk the room looking only at reflective surfaces: mirrors, the television, glass cabinet fronts, the kettle. If you appear in any of them you will appear in the render.
A vacant room is easier but not free. Sweep it, because dust and footprints on a bare floor come through clearly. Level the blinds and open them by the same amount. Remove the flyer stack, the ladder and the paint tins. Close doors onto unfinished spaces, because a sliver of half-built utility room gets rendered as part of the design.
If you plan to empty the room afterwards with Furniture Cleanup, shoot so the surfaces you want kept are as visible as possible. Pull large pieces four to eight inches off the walls where you can, because if the model never sees the baseboard behind the sofa it will invent baseboard behind the sofa. A corner sectional touching two walls and the floor is the hardest object to remove convincingly, so give it an extra frame showing more of the floor behind it. Avoid any frame where a mirror reflects the furniture you are about to delete: removing the sofa and leaving its reflection is the detail that gets a listing questioned. With owners in residence, sequencing matters more than the shot list, and staging a home the owners still live in is a procedure of its own.
Three angles, three different rooms
Take three frames per room: the primary corner, the opposite corner, and one straight-on at whatever the room is being sold on. Same height, same lens, same white balance for all three. Shoot all three even if you only intend to render one. The cost is thirty seconds, and the second corner is your insurance when the primary frame turns out to carry a reflection you missed, or when a client asks for the one view you did not take.
Then understand what happens when you render them. Each frame is generated independently. No persistent model of the space is carried between renders, so the second angle is not a second view of the first render. It is a fresh guess at the same room, and the furniture drifts. A designer running several tools against the same brief found one that "completely changed the orientation of the room" while still producing a realistic-looking image, which is the worst combination available: wrong and convincing.
So pick one angle as the hero, render it, get it approved, and only then render the second angle with the approved furniture described explicitly. That is a prompt problem more than a photo problem, and writing a prompt that holds the room still covers the wording. The cheaper answer, usually better for a client deck, is one angle per room. Three angles of one room invites the client to spend the meeting spotting differences.
Where a good photograph still is not enough
Most guides in this category stop before the failures. Here are the ones to expect, split by whether a better photograph fixes them.
Fixed by a better photograph
- Bowed window bars and door casings. Thin, regular, high-contrast lines break first, and a wide lens curved them before the model started. At 1x they survive far more often.
- Ceiling height drift. Caused by tilting up, or by cropping the ceiling out. Keep the ceiling strip and the phone vertical.
- Floating or sunken furniture. Caused by a floor-to-wall junction hidden behind furniture or lost in shadow. Keep the floor band clean and lit.
- Materials in the wrong color. Almost always mixed light. One color temperature fixes it.
Not fixed by a better photograph
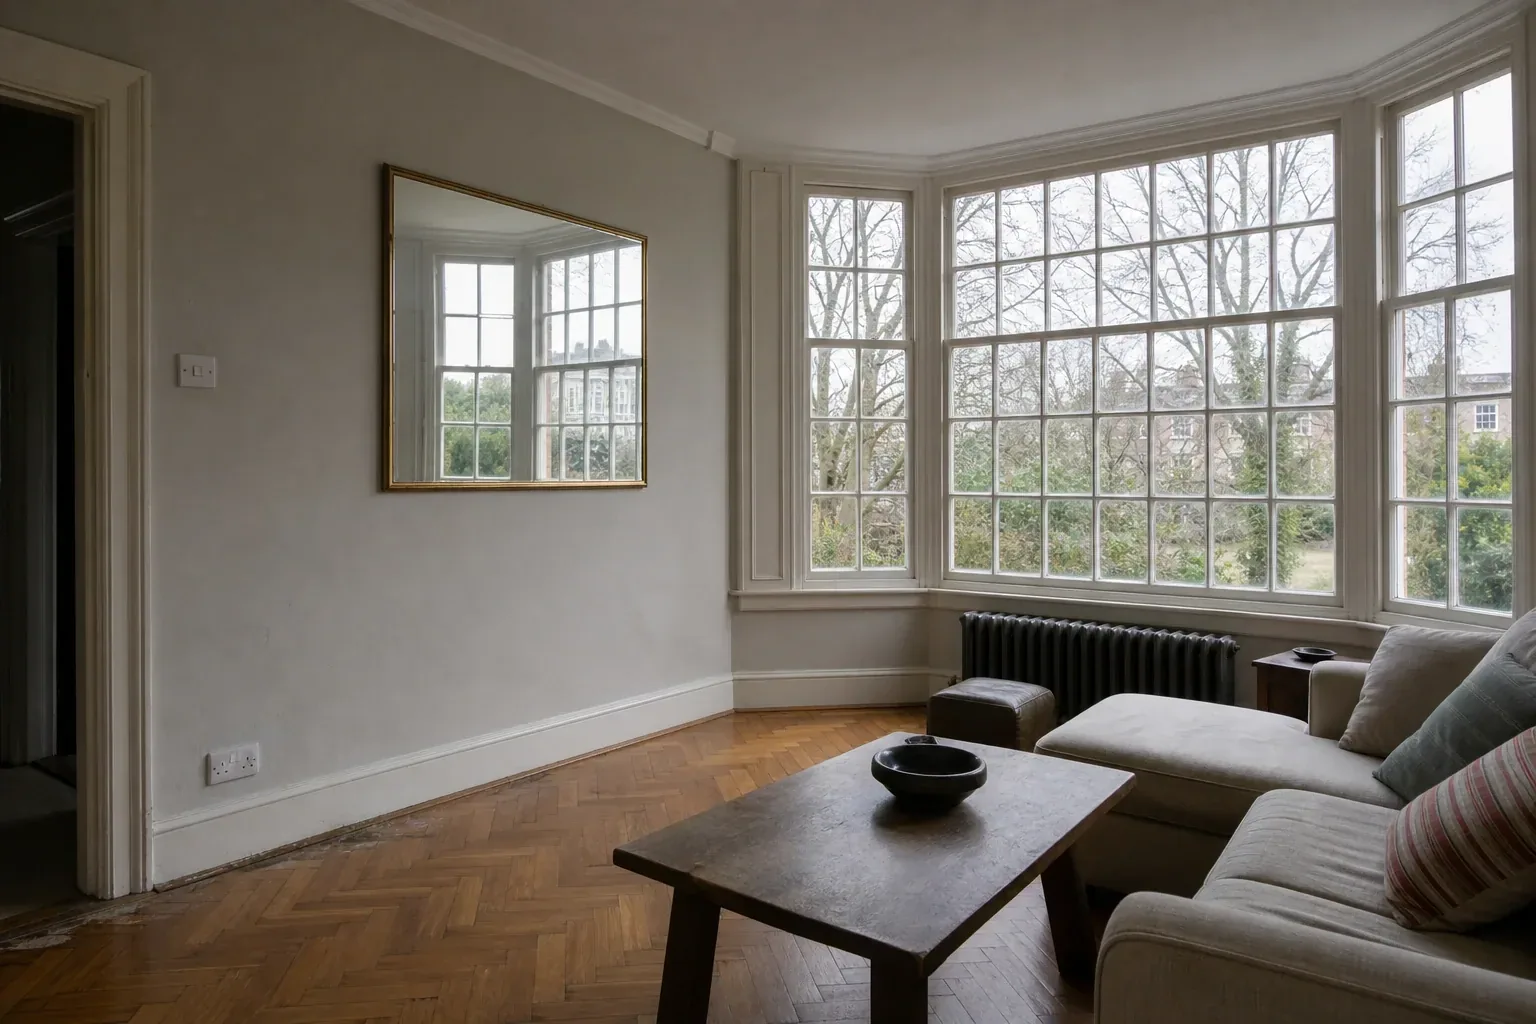
- Mirrors. A mirror is a second room. Models render it as a picture rather than a reflection, so a mirror showing the part of the room you changed will be wrong nearly every time.
- Small fixtures. Radiators, outlets, switches, thermostats and vents migrate, duplicate or vanish. Small, regular and semantically ambiguous.
- Anything seen through glass. The view gets re-invented. The New York Department of State tells buyers to look for exactly this, listing "distorted or inconsistent details" among its detection cues and naming inconsistent window views as an example.
- Repeating patterns. Herringbone boards, brick slips, subway tile. Once the run is broken the eye catches it instantly.
- Recessed geometry. Bay windows, alcoves, boxed pipework, a staircase seen through a doorway. These flatten out.
That split is also a review order. Open the finished render at full size and check three things in sequence: the thinnest straight lines first, usually window bars or a door casing; then the line where the floor meets the wall; then every reflective surface. The first two are decided almost entirely by your photograph, so a failure there means re-shooting, not re-prompting. The third is decided by the model, so a failure there means a masked edit. Three checks and you know which of the two fixes you are looking at, before you have spent another credit on a full re-render. Run it on the hero frame first, so a re-shoot costs you one room rather than a whole property.
When the geometry moves rather than the finish, fixing a render that moved a wall is a different procedure from re-shooting.
It helps to hear the limits from the incumbent. Chaos, the company behind V-Ray and Enscape, writes that AI tools "can misjudge space, distance, and ergonomics" and can produce unrealistic materials and proportions, sometimes to the point of a design being physically impossible to build. They add that any AI output should be reviewed by a design expert, especially if it will be client-facing. A better photograph raises your hit rate. It does not remove the review.
The pre-shoot checklist
Most of how to photograph a room for AI rendering fits in one table. The rows run in shooting order rather than importance order, because each one is harder to fix once the row above it is set.
Work down the table in order, one pass per room
| Check | Target | What breaks if you skip it |
|---|---|---|
| Light sources | One color temperature, daylight preferred, no flash | Materials come back the wrong color |
| Phone processing | HDR, night, portrait, scene detection off | Halos on edges, smeared texture, missing far wall |
| Resolution | Native, crop before upload | Window bars and grout gone before the render |
| Lens | 1x on a phone, 24 mm or longer on a camera | Bowed casings, stretched furniture at the edges |
| Position and height | Corner with two walls, chest height, same every frame | Flat depth, ceiling height drifting between renders |
| Verticals | Phone back vertical, frame edge on a door casing | Walls taper, and the taper reads as the room |
| Floor and ceiling | 10 to 20% clean floor, 5 to 15% ceiling | Furniture floats, room height gets invented |
| Exposure | Metered on the darkest wall, window blown out | Shadows fill with invented geometry |
| Reflections | Nothing reflective shows you or your kit | A smeared figure in the mirror or television |
Before you leave the room, zoom into the frame on your own screen and confirm the wall-to-floor line is readable end to end. That single check catches most of what the table is for. Then keep the original file. It is your fallback when a render goes wrong, and in some markets a deliverable in its own right: under CRMLS rules the unaltered version "must appear in the listing immediately before or after the digitally enhanced image". File it next to the render, named so the pair stays together.
Common questions
- Can I use the photos the listing photographer already shot?
- Often, with two caveats: they were probably shot at 16 mm or wider to make rooms look large, and probably HDR-merged. Ask for the flattest, least wide frame and for the unedited original. If every frame is ultra-wide, one phone reshoot at 1x beats all of them.
- Do I need a proper camera?
- No. A recent phone main camera at 1x on a small tripod beats a full-frame body at 16 mm handheld. The tripod earns its place mainly by stopping the height changing between frames.
- Should I straighten and color-correct before uploading?
- Lens correction, rotation and white balance, yes. Warping, sky replacement and object removal, no: you would be handing the model an already-invented room. Straightening also crops slightly, which is one more reason to leave a ceiling strip.
- How dark is too dark?
- If the room needs night mode, it is too dark. Practical test: find where the baseboard meets the floor in the darkest corner. If you can see that line on your screen, the model can read it.
- Does any of this apply to exteriors?
- Most of it. Everything in how to photograph a room for AI rendering that concerns lens, straight verticals and one quality of light carries over to a facade heading into Exterior Redesign. Stand as far back as the plot allows, and shoot in the hour before sunset rather than at noon, when the roof shadows the wall you are showing. Trash cans, cars and hoses count as clutter.

Written by
Axisnook Editorial Team
Design visualization writers at Axisnook
The team that builds and supports Axisnook, writing from the render queue rather than the press release.
- Interior and exterior design visualization
- AI render workflows and prompt design
- Client presentation and revision process
- Real-estate listing and virtual-staging disclosure