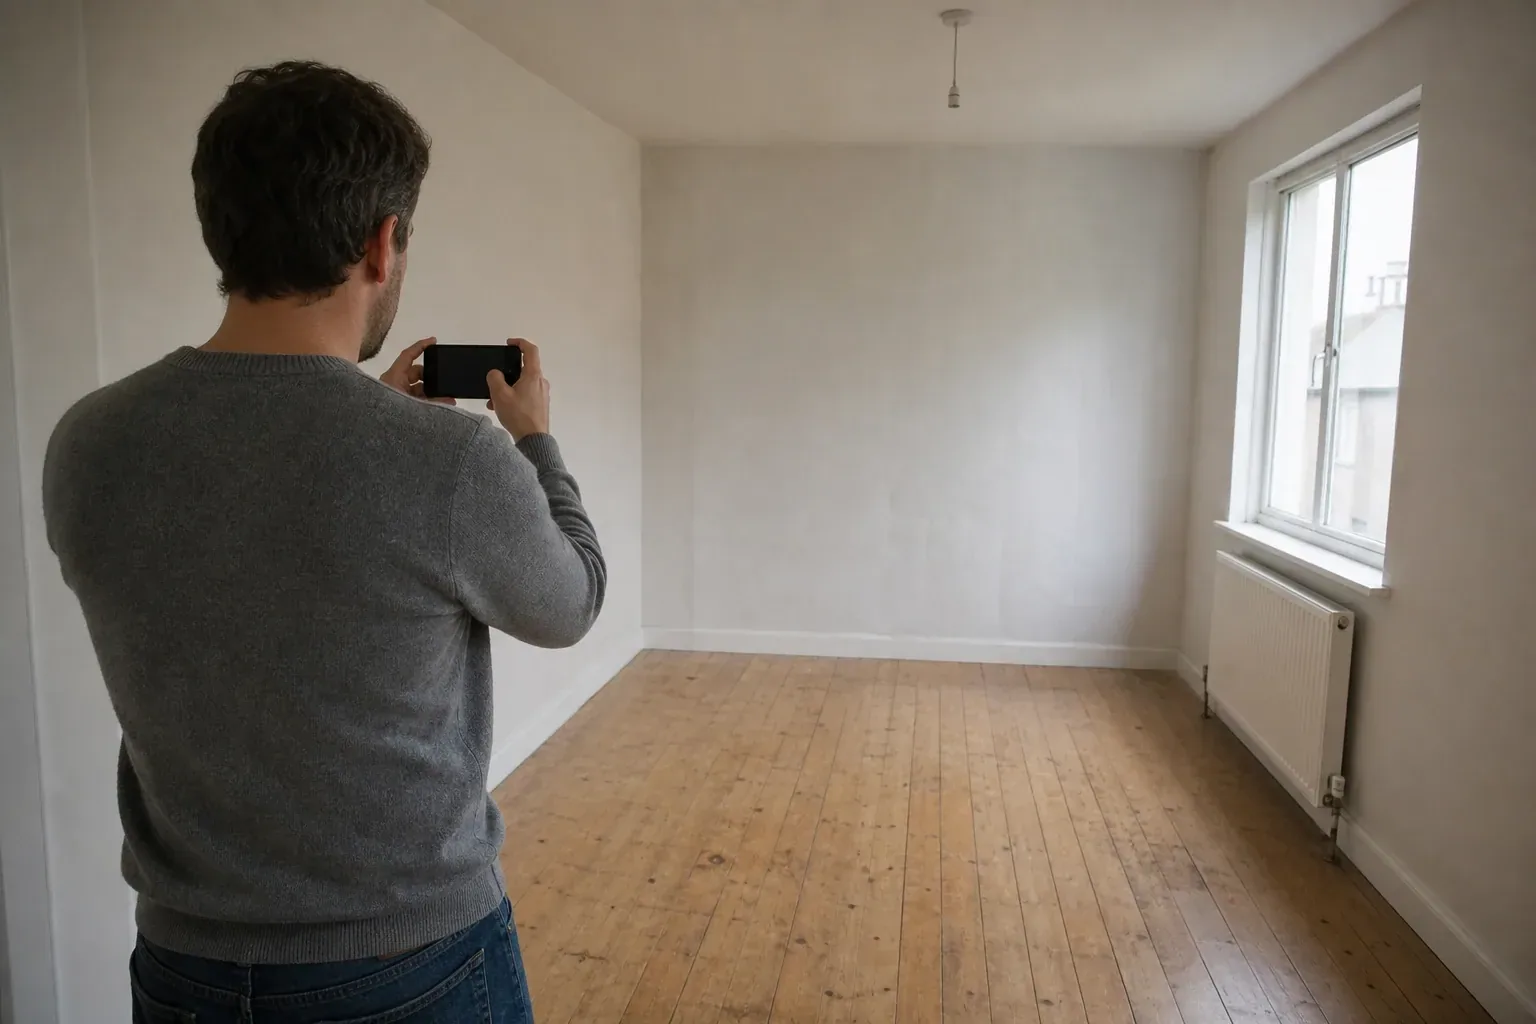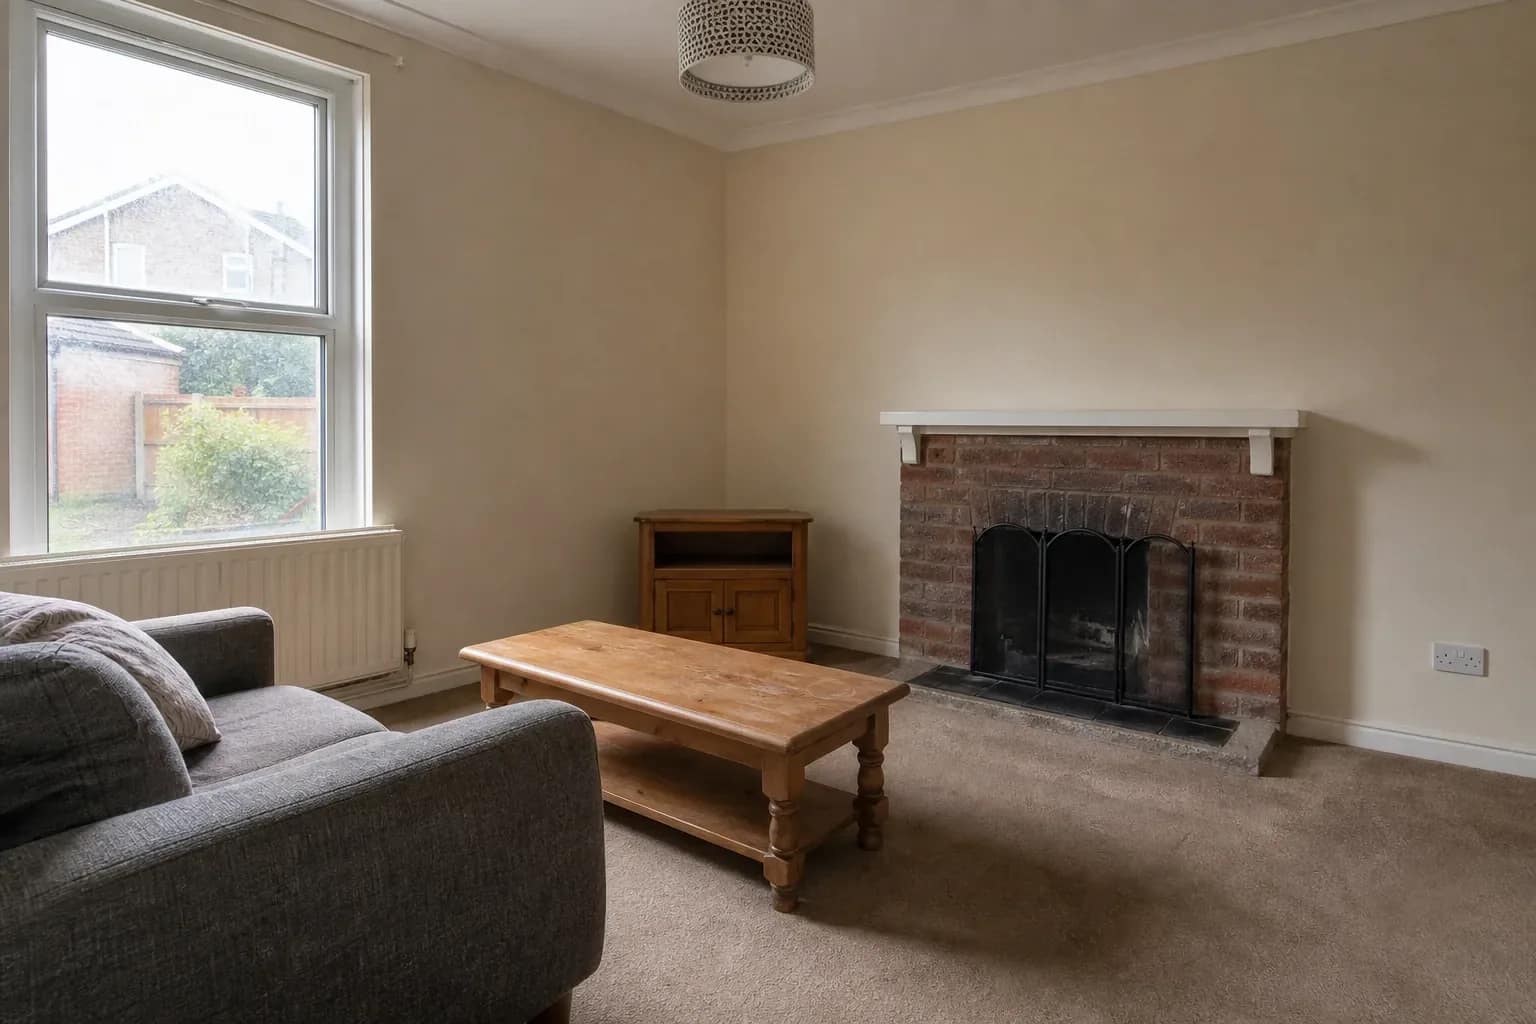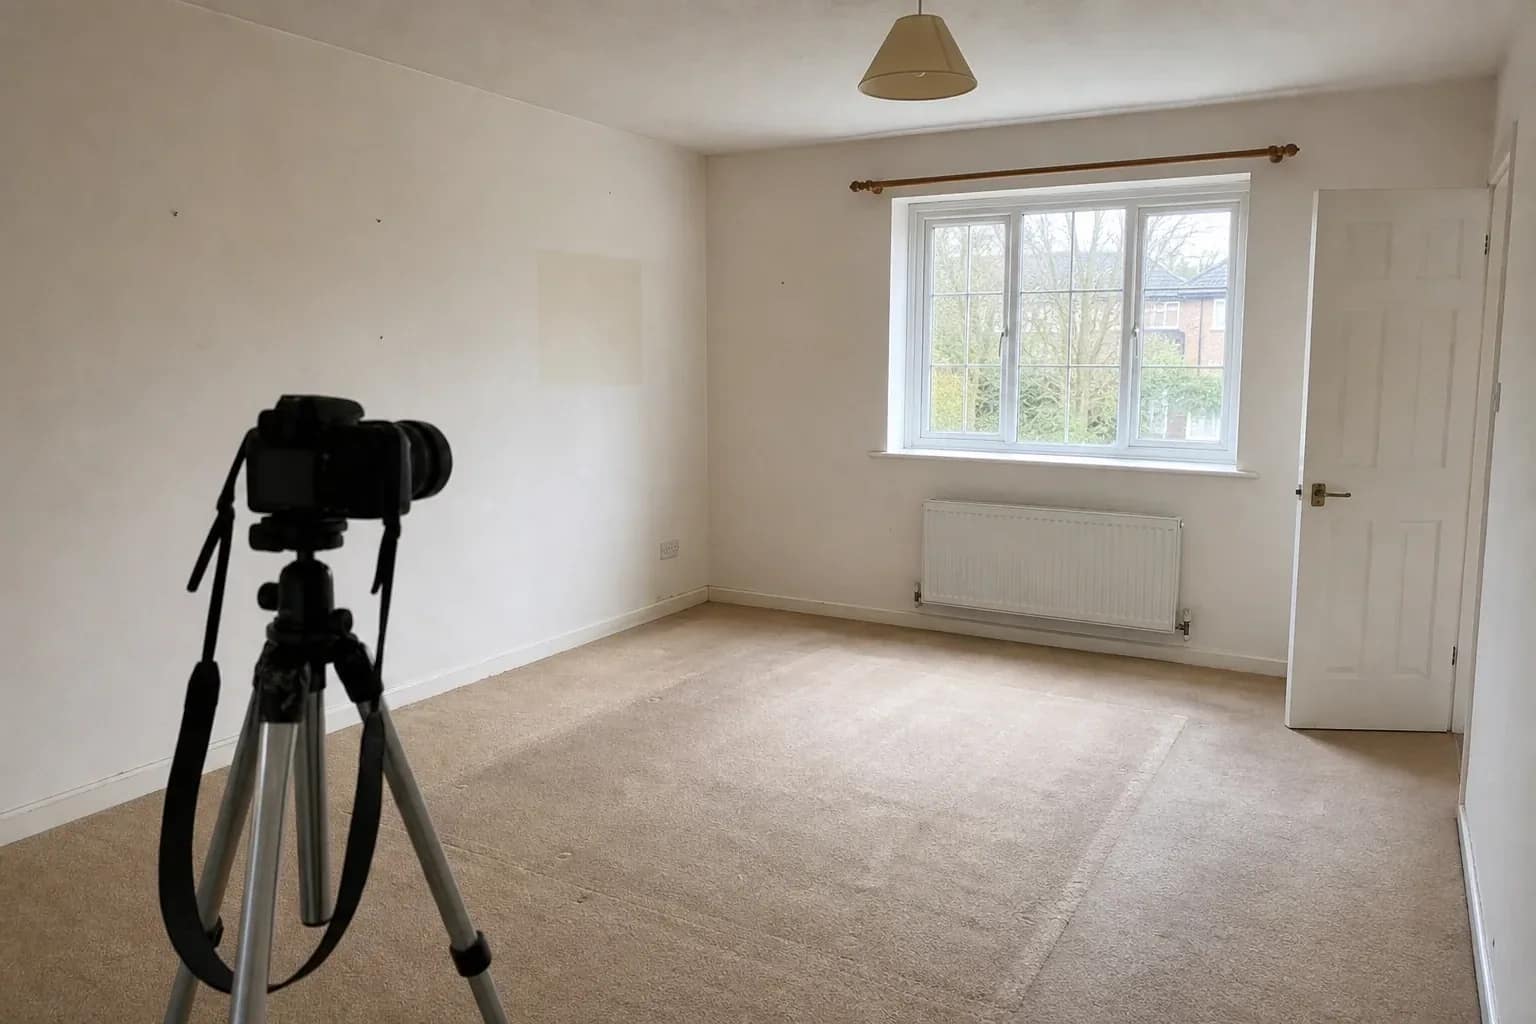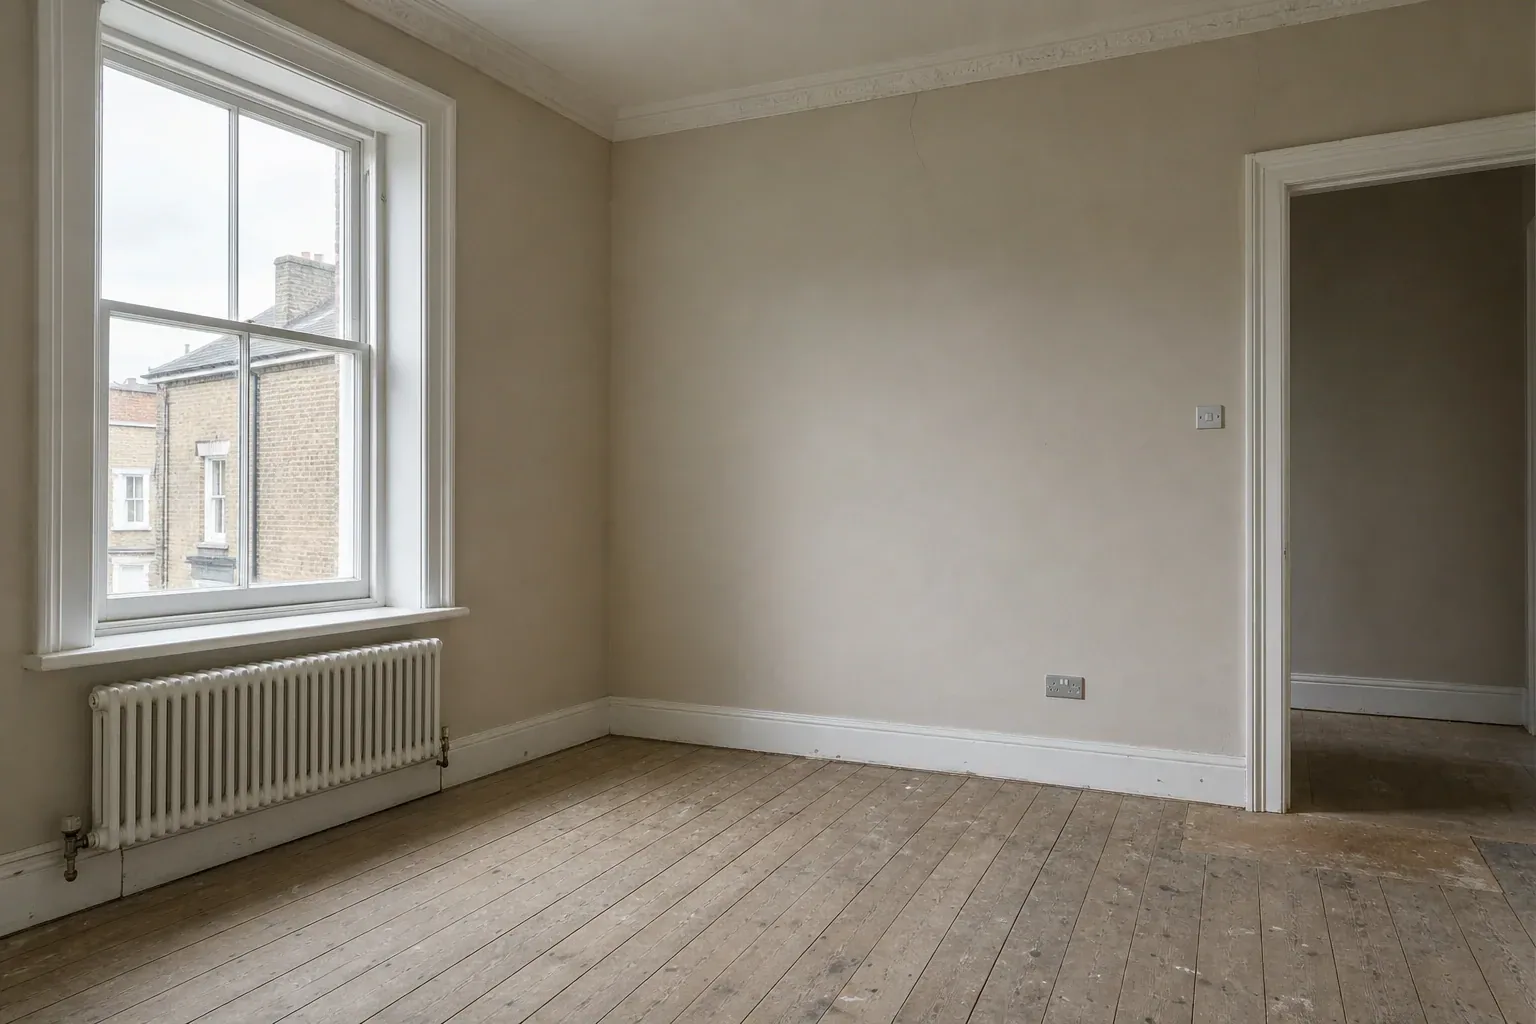
An AI render comes back and the room is subtly not the room. The window has shifted, the radiator under it has gone, and the ceiling reads taller than the one you photographed. The scheme is fine. The building is wrong, and your client is now looking at a picture of a house that does not exist.
Nothing in the pipeline is holding the building still
Photo-to-photo AI rendering does not edit your photograph. It generates a new image and uses your photograph as a steer. Every pixel that comes back is synthesised, including the ones that look identical to the input. The walls in the output are not your walls. They are a confident guess at walls resembling yours. Once you accept that, the failures stop looking random and start looking predictable.
There is no geometry anywhere in the loop. No dimensions, no plan, no wall thickness, no record that the opening on the left is a door and the one on the right is a window. The model reads a flat array of colour plus whatever your prompt told it to want. Wherever the photograph is ambiguous, it fills the gap with the most ordinary thing it has seen.
AI tools "can misjudge space, distance, and ergonomics", and outputs may show "unrealistic materials and proportions, sometimes to a point of a design being physically impossible to build."
Chaos, maker of V-Ray and Enscape, in AI tools for interior design
Chaos sells the incumbent renderers, so read that as a competitor describing a competing method. It is quoted here anyway, because the failures it names match what independent practitioners report, and because the same article still recommends AI for ideas before handing off to real-time tools for validation. That concession costs Chaos something, which is why it is worth reading.
A working designer ran the same brief through a set of consumer tools and published the results. One of them "completely changed the orientation of the room", on a render she otherwise rated as convincing. Another, she wrote, will "add big changes to the room such as extra windows or doors" (Spaces by Dee). Realism and accuracy are separate axes, and a realistic render of the wrong room is the more dangerous failure of the two.
Structural drift has three sources, and it is worth separating them, because two of the three are yours to control.
- The frame is ambiguous. Overexposed glazing, an opening half hidden behind a wardrobe, a ceiling cropped off the top of the shot. Where the photograph does not settle a question, the model settles it, and it is not obliged to settle it the same way twice.
- The training data has opinions. Radiators, surface trunking, thermostats and extract vents are scarce in the aspirational interiors these models learned from. Tall, bright, uncluttered rooms are abundant. With weak evidence in the frame, the output drifts toward the average of what it saw.
- The prompt pulls as well. Ask for a bright, airy scheme and you have indirectly asked for more daylight than the room has. Something has to supply it, and a new window is the cheapest way for the model to comply.
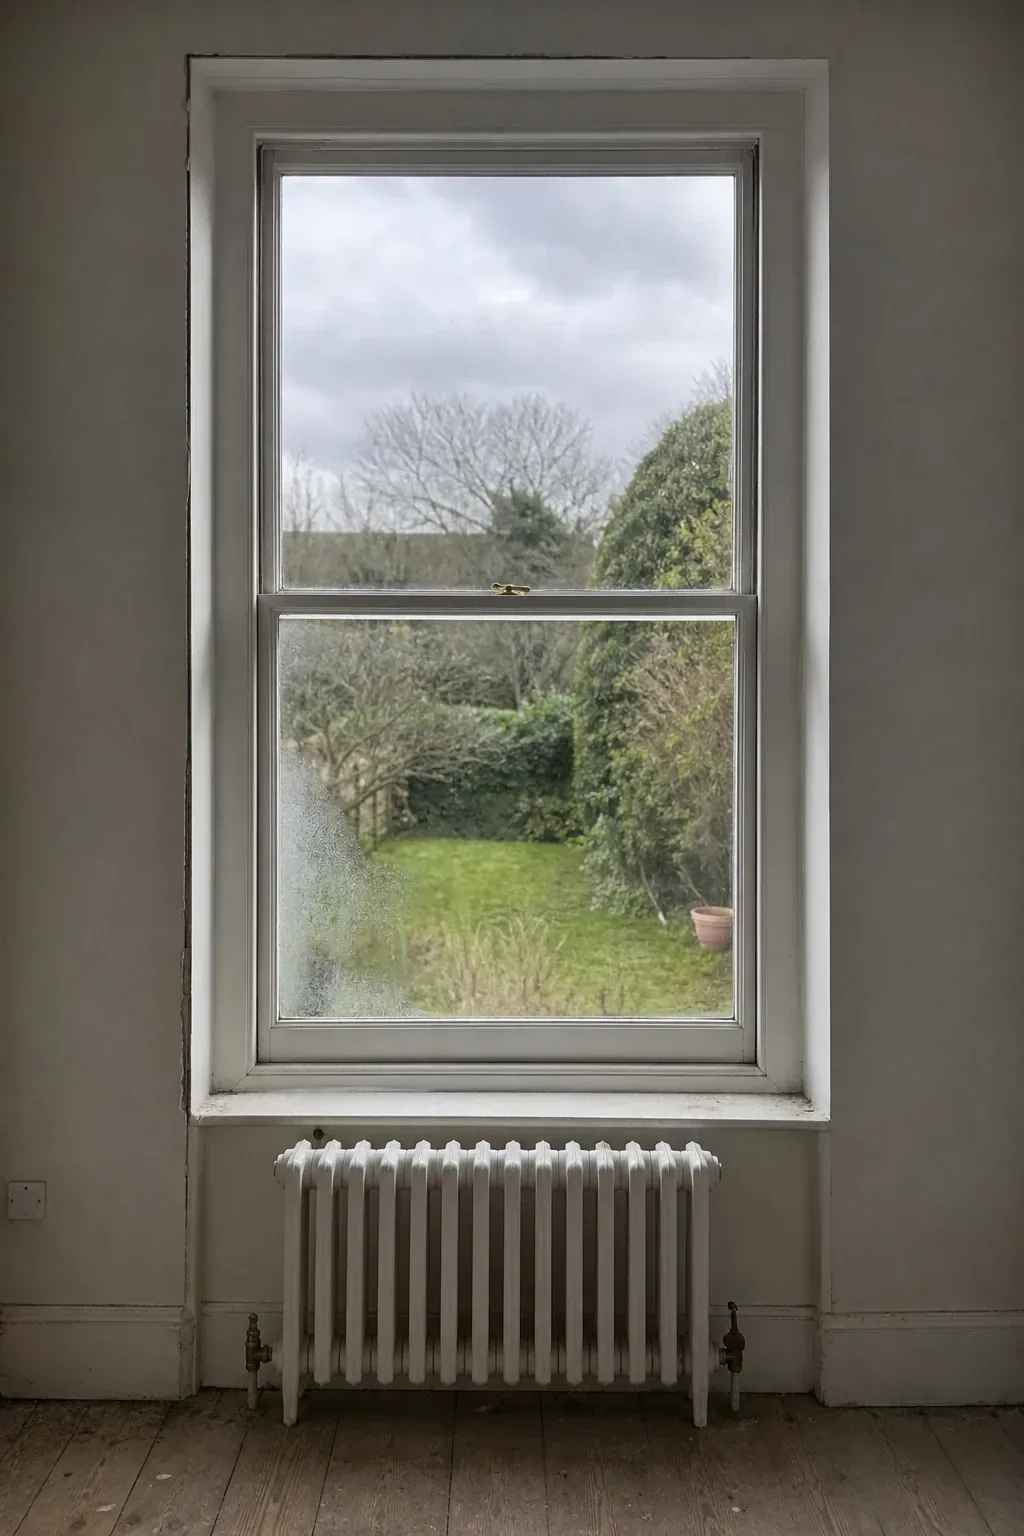
The first of those is fixable before you spend a credit. A frame with correctly exposed glazing, both walls of a corner visible and a clean band of floor gives the model far less to invent, which is why shooting the room properly in the first place changes the output more than any prompt does.
How to keep the room layout the same in an AI render: mask, do not re-render
A whole-frame render regenerates the entire image. Your photograph influences the result, but it does not constrain it, and no part of the output survives from the file you uploaded. A masked edit works the other way around. You define a region, the model generates inside that region only, and every pixel outside it is carried through from the original untouched.
That is the whole answer to structural drift, and it is unglamorous. If the window sits outside the mask, the window cannot move. Not "is less likely to move". The pixels are not regenerated, so there is nothing to drift.
In Axisnook that maps to three routes. Inpaint Edit is the masked one: brush a region, describe the change, and nothing outside the brush is re-rendered. Furniture Swap replaces a single piece using a reference image and leaves the rest of the room as shot, which is how you show a client the sofa they can actually buy. Interior Redesign re-renders the whole frame across 53 styles and 7 room types: the right tool for "show me this room five ways", the wrong tool for "keep this room and change the sofa".
Masked editing has its own failure mode, worth naming before you rely on it. The model still blends new content into old at the boundary, and lighting on the new object is inferred rather than computed. So a masked edit fails at the seam, not at the architecture: a shadow pointing the wrong way, a fabric catching light the room does not have, a hairline mismatch in floor tone along the brush edge. Easier to spot, cheaper to fix, and it never costs you a wall.
The practical answer to how to keep the room layout the same in an AI render is therefore mostly a routing decision made before you spend a credit. Send the job to a masked edit, and reserve the full re-render for the cases where the room is allowed to change. When you do run a full re-render, the prompt structure that constrains it is your only remaining lever, and it is a soft one.
Masking discipline: where to draw the line
A mask is a boundary between what you are willing to lose and what you are not. Most bad masked edits are bad because the boundary was drawn generously, and generosity here means handing the model architecture to reinterpret.
Start from the original photograph
Not from yesterday's render, and not from a screenshot of one. Keep every edit one generation away from a real photograph wherever you can.
Trace the object, not a box around it
Follow the silhouette of the thing you are changing. A rectangle around a sofa includes wall, skirting and floor that had no reason to be regenerated, and every one of those is a surface that can come back subtly different.
Take the contact shadow with it
Include the shadow the object casts and the floor it sits on. Leave the shadow outside the mask and you get a new sofa with the old sofa's shadow beside it.
Stop hard at architectural lines
Where the mask meets a wall-to-ceiling junction, a skirting, a window reveal or an architrave, run tight against it, a pixel or two proud at most. Soft feathering belongs at fabric and foliage, not at plaster. A generous feather across a skirting line is how a straight run of moulding acquires a wave.
Mask whole objects, never fragments
Half a chair inside the mask and half outside gives the model two conflicting chairs to reconcile, and it will usually invent a third.
Inspect the seam at full resolution
View the boundary at 100 per cent before anything leaves your desk. Blend artefacts vanish at deck size and reappear the moment a client zooms in on their phone.
Mirrors, glass and anything glossy
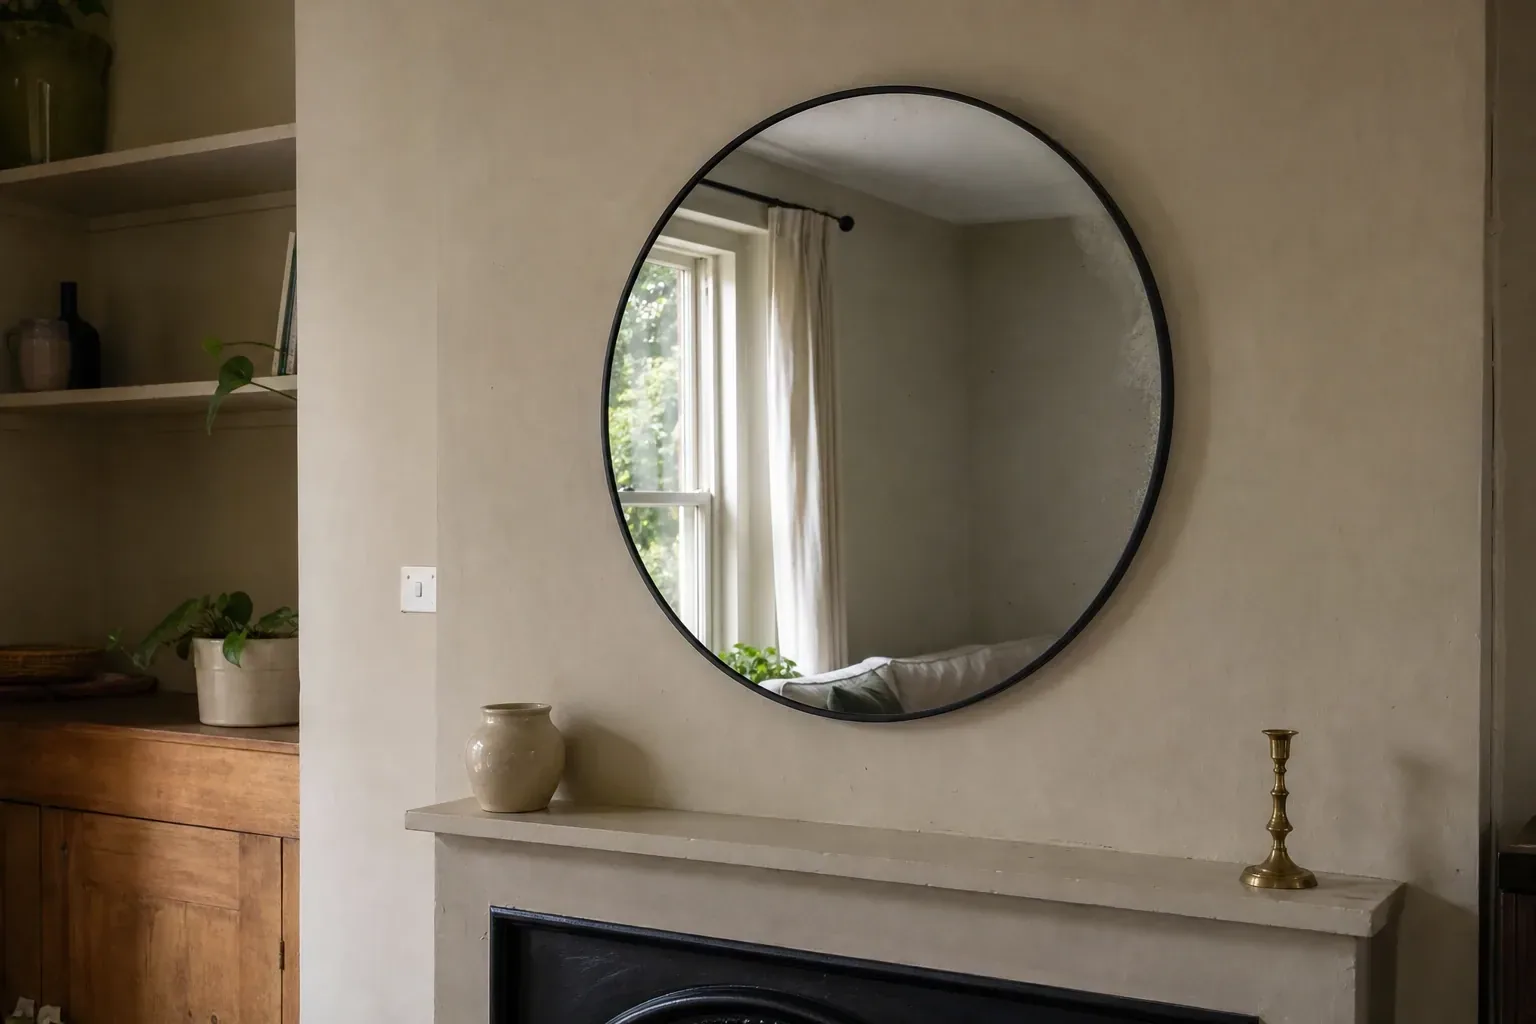
Reflective and transparent surfaces double the work, because the object appears twice: once as itself, once in the mirror, the glazed door, the polished floor or the television screen. Change the sofa and the mirror above the fireplace still shows the old one. Two honest ways through. Run a second pass masking the reflected area, accepting that the reflection is now a guess at a guess. Or leave the mirror alone deliberately and caption the image so nobody is misled.
Get this wrong in a listing context and you have produced exactly the tell that buyers are being taught to look for. New York's Department of State, warning homebuyers about AI-generated listings in November 2025, told consumers to "check if there are any distorted or inconsistent details" and named "inconsistent window views" among its examples (NY DOS). A mirror showing a room that is not in the frame is the same defect in a different surface.
One change per pass
It is tempting to write "replace the sofa, warm up the wall colour and swap the pendant" as one instruction. Resist it. The model satisfies all three inside a single generation, and they trade off against each other. You lose the ability to say which instruction produced which result, and when the client approves two of the three you cannot keep them without re-rolling the third.
Sequence instead: remove, then replace, then finish. Keep two files permanently, the original photograph and the version the client last signed off on, and rebuild from those rather than stacking a tenth pass on nine others. Diffusion output is not reproducible without a fixed seed, so an approved image you cannot regenerate is one you must not lose.
Diagnosis: symptom, cause, first fix
Most of what goes wrong is one of eleven things, and each has a specific cause rather than a general one. Work down the middle column before you rewrite the prompt.
Common structural failures in photo-to-photo interior renders
| Symptom | Likely cause | First fix |
|---|---|---|
| A window moved, multiplied, or appeared in a party wall | Whole-frame render; overexposed glazing gave the model no edge to hold | Redo as a masked edit that excludes the window wall entirely |
| A doorway closed, or a new opening appeared | The opening was partly hidden behind furniture in the source frame | Reshoot from a position where the whole opening is visible, then mask only the far wall |
| The ceiling reads taller or shorter than it is | Ultrawide distortion, or the ceiling was cropped out of the frame | Shoot around a 24-35mm equivalent with a band of ceiling in shot; sanity-check against a standard door height |
| Radiator, sockets, thermostat or extract vent are gone | Small low-contrast fixtures that are rare in the interiors the model learned from | Keep them outside the mask; if they have already gone, restore each one in its own small pass |
| Skirtings, cornices and architraves came back with a different profile | Mouldings are fine repeating detail, and a feathered mask edge crossing them averages them away | Run the mask boundary tight against the moulding line rather than across it |
| New furniture floats with no shadow beneath it | The object was generated without the floor plane inside the mask | Extend the mask to the floor under the object and name the light direction in the prompt |
| The bed came back wrong: pillows merged, the duvet has no edge | Bedding was a recurring weakness across multiple tools in one designer's published hands-on test | Mask the bed alone and re-run it separately from the rest of the scheme |
| The mirror reflects a room that is not in the frame | The reflection sits outside the mask, so it still shows the previous scheme | Second pass over the reflected area, or leave the mirror out and caption the image |
| Two angles of the same room do not agree | Each render is an independent generation with no memory of the other | Present one angle per room, or produce the second angle as a masked edit of that second photograph |
| Detail softens after several rounds of edits | You are editing an edit of an edit | Rebuild from the original photograph and the last version the client approved |
| It looks superb and it cannot be built | No dimensional or constructional constraint exists anywhere in the process | Treat it as intent rather than specification, and check clearances and heights by hand |
The multi-angle problem, told straight
The same room, rendered from three camera positions, will not agree with itself. Nothing carries a model of the space between generations, so each frame is decided independently and the decisions drift. A competitor's write-up states the mechanism plainly: these tools "generate each image from scratch, with no persistent model of the space" (MONA). That is a vendor making an argument for its own product, but the mechanism is easy to check yourself. Run the same photograph through the same settings twice and compare the two outputs.
The consequence is specific and embarrassing. A client approves a bouclé sofa in the hero view, asks to see the room from the doorway, and the bouclé is now leather, the rug has lost its border and the pendant has grown an arm. Nobody in that meeting is thinking about diffusion models. They are thinking you cannot keep your own story straight. Inman published a piece on AI-staged listing photos that do not match across angles in April 2026, so it is not only designers noticing.
There is no setting that fixes this. What you can do is stop presenting work in a way that exposes it.
- One hero angle per room. Present three schemes from one camera position rather than one scheme from three. The comparison the client needs is between options, not between viewpoints.
- If you need a second angle, start from the second photograph. Run it as a masked edit of that frame. The architecture matches because it is still a photograph, and only the masked object is generated twice.
- Fix the specification in words and reference images. Name the actual product and use a reference photograph in Furniture Swap so the same piece appears in both frames. Expect fabric sheen and cushion break to still differ.
- Put the original photograph next to the render. It sets the frame of reference and it is honest. Under CRMLS rules it is also mandatory: the unaltered version must appear in the listing immediately before or after the altered image.
- Caption for intent, not for fact. "Indicative finish" and "concept only" are accurate. "As built" is not, and it is the caption that creates the exposure.
Five jobs where an AI render is the wrong tool
Knowing when to stop is part of the skill, and these five are not edge cases.
- Anything dimensioned. A render carries no measurements and no scale. Chaos puts it directly: AI tools "can miss practical constraints like accurate measurements, functional layouts, budgets, available materials, or building and safety requirements." If a number has to be right, it comes from a survey and a drawing.
- Anything a contractor prices or builds from. Change orders come from the gap between the picture and the spec. A render is a statement of intent that helps a client say yes. It is not a scope of works, and it should never be stapled to one without a note saying so.
- Planning, HOA and architectural review submissions. A review board compares your image against the existing building, so an invented dormer or a moved window sinks the application. This is where the same discipline applied to an elevation matters most, because facades are shot at an angle and distort easily.
- Safety and compliance features. Fire doors, egress windows, guarding heights, trickle vents, extract fans, handrails. If the render deleted them, you have published a picture of a non-compliant building. Check for them by name rather than trusting a glance.
- MLS listing photos that touch anything permanent. CRMLS states that users "CANNOT add, remove, or modify any real part of a property such as wall color, flooring, cabinets, wall dimensions, landscaping, etc." (CRMLS). California AB 723, operative since 1 January 2026, defines a digitally altered image to include changes to walls, flooring, landscaping and floor plans, and requires a conspicuous disclosure plus a link, URL or QR code to the unaltered version (bill text).
A pre-flight pass before it leaves your desk
Two minutes, original and render side by side, in this order. Most of the defects above are invisible at deck size and obvious at full size.
- Count the windows and doors in both images. They should match exactly, including any opening only half visible.
- Check the door swing and the handle side. A flipped door is a plan change nobody asked for.
- Follow the wall-to-ceiling line across the frame. It should be as straight in the render as it is in the photograph.
- Look for the services: radiator, sockets, switches, thermostat, vents, smoke detector.
- Check every shadow points away from the same window, including under the new furniture.
- Check the floor: plank direction, tile grid, and whether the pattern survives behind the new pieces.
- Check every reflective surface for a reflection of the room you no longer have.
- Zoom to 100 per cent along each mask boundary.
The 2025 NAR technology survey found 46 per cent of members using AI-generated content, and only 17 per cent reporting a significant positive impact (NAR). That gap is not a model-quality problem. It is what happens when a whole-frame renderer is handed a job that needed a mask, and nobody checked the output against the photograph before it went to a client.
Common questions
- Why did the render add windows my room does not have?
- Two causes usually stack. The glazing you do have was overexposed, so the model had no edge to anchor to, and the style you asked for is tied to bright, heavily daylit rooms in the images it learned from. Expose for the glass when you shoot, and if the window wall must be exact, keep it outside a mask rather than trusting a prompt to protect it.
- Can I force a whole-frame render to keep the layout exactly?
- Not reliably. A better input photograph and a prompt that names what must not change will improve the odds, but a whole-frame render regenerates every pixel and any of them can move. If the layout has to be exact, the job belongs in a masked edit.
- How do I get two camera angles of the same room to agree?
- You do not, if both are whole-frame renders. Photograph each angle separately and run each as a masked edit of its own frame, so the architecture in both comes from a camera rather than a model. Even then, expect a specified item to differ slightly in material and drape between the two.
- Is a masked edit safe to use on an MLS listing photo?
- Safer, not automatically safe. Masking limits what changes, but the rules are about what you changed, not how you changed it. Adding furniture to a vacant room is broadly accepted with disclosure. Altering paint, flooring, cabinets or landscaping is prohibited by MLSs such as CRMLS whatever the technique, and California now requires a conspicuous disclosure with a route back to the unaltered image.
- Which masked edits can I do on the free plan?
- Removal only. The free tier gives 3 trial credits with watermarked exports, and it covers Furniture Cleanup in object mode, where you paint over what you want taken out. Describing a replacement into a brushed region is Inpaint Edit, and swapping one piece from a reference image is Furniture Swap; both sit on Starter at $9 a month or $81 a year for 30 credits, which also drops the watermark and adds a commercial-use licence.

Written by
Axisnook Editorial Team
Design visualization writers at Axisnook
The team that builds and supports Axisnook, writing from the render queue rather than the press release.
- Interior and exterior design visualization
- AI render workflows and prompt design
- Client presentation and revision process
- Real-estate listing and virtual-staging disclosure